
Floral Naked Vanilla Cake Recipe
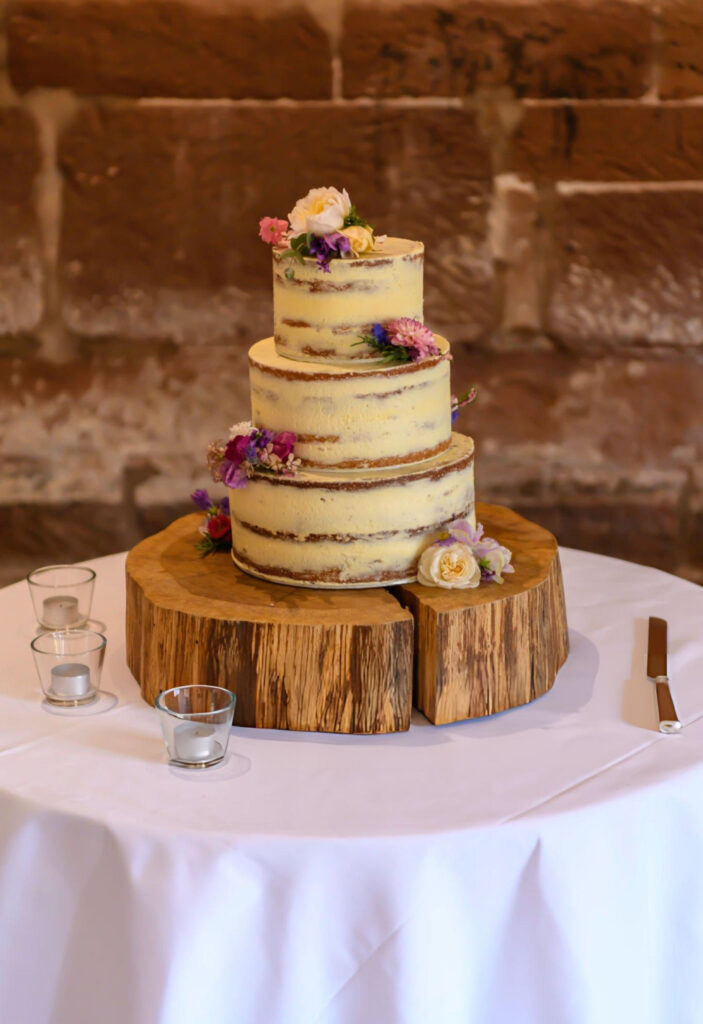
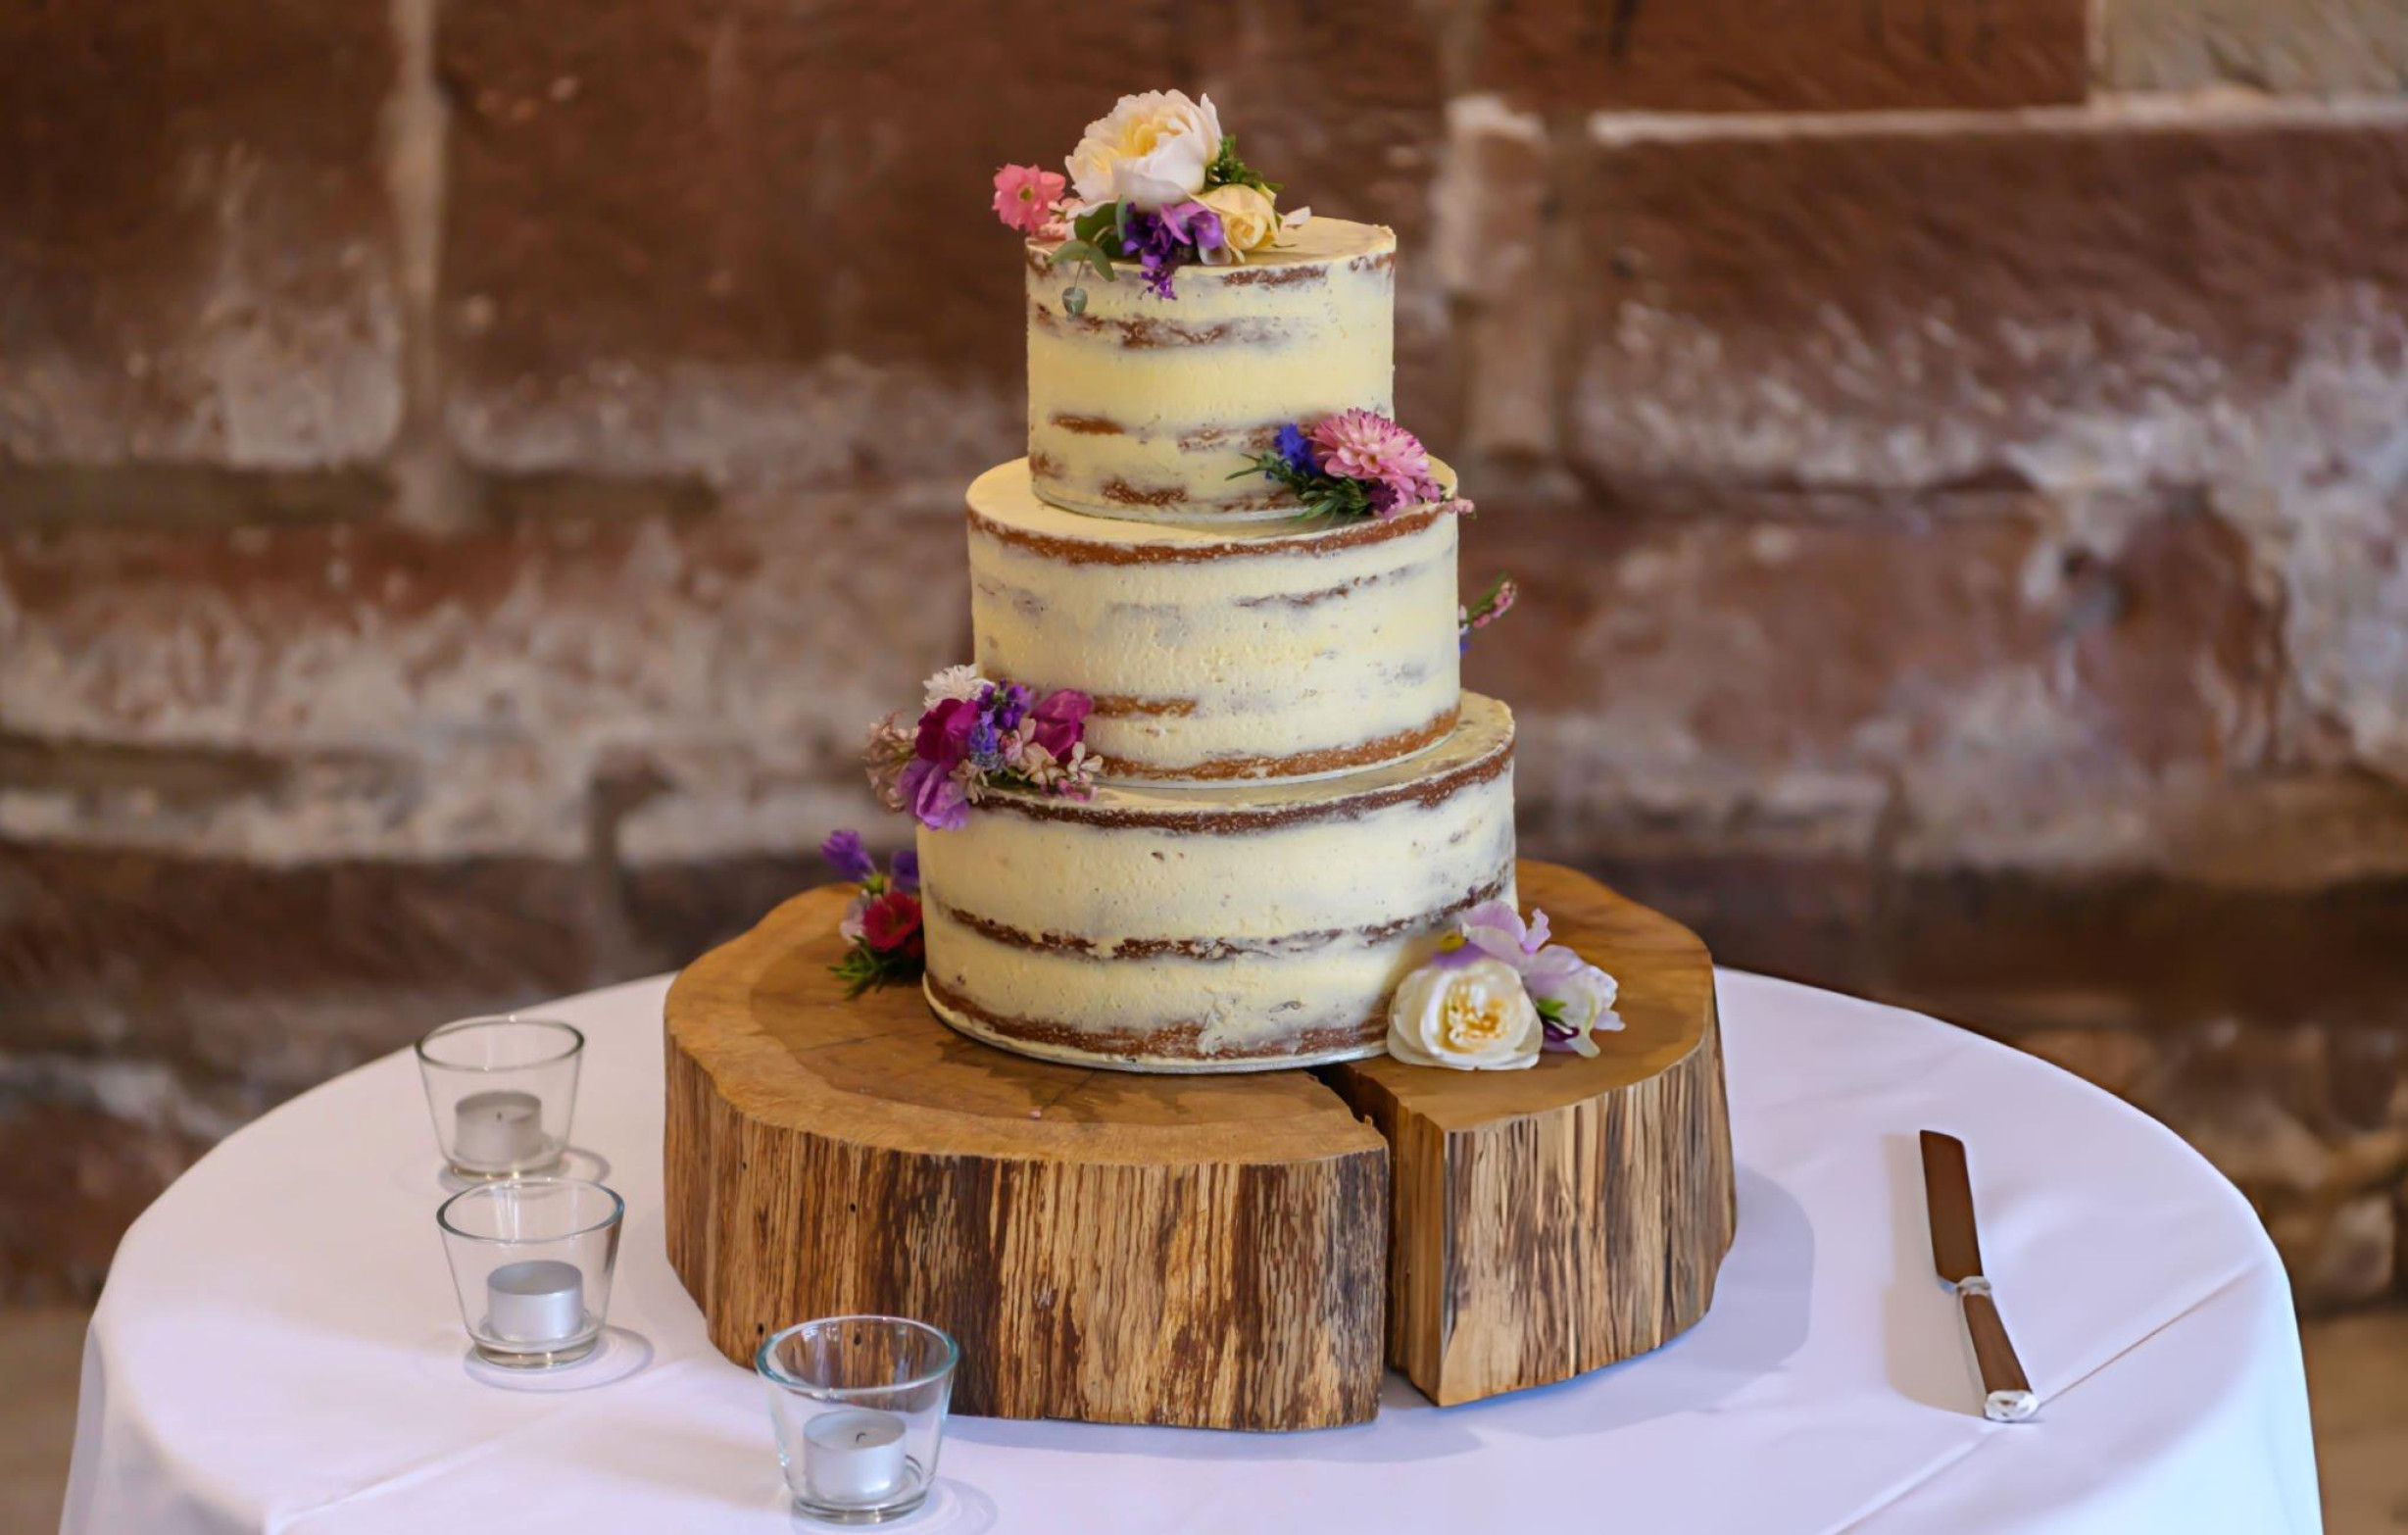
The Floral Naked Vanilla Cake is a beautiful combination of tender vanilla buttermilk sponge, creamy vanilla buttercream, and delicate floral decoration. With its lightly exposed layers and rustic finish, it has an elegant bakery-style appearance without feeling overly formal.
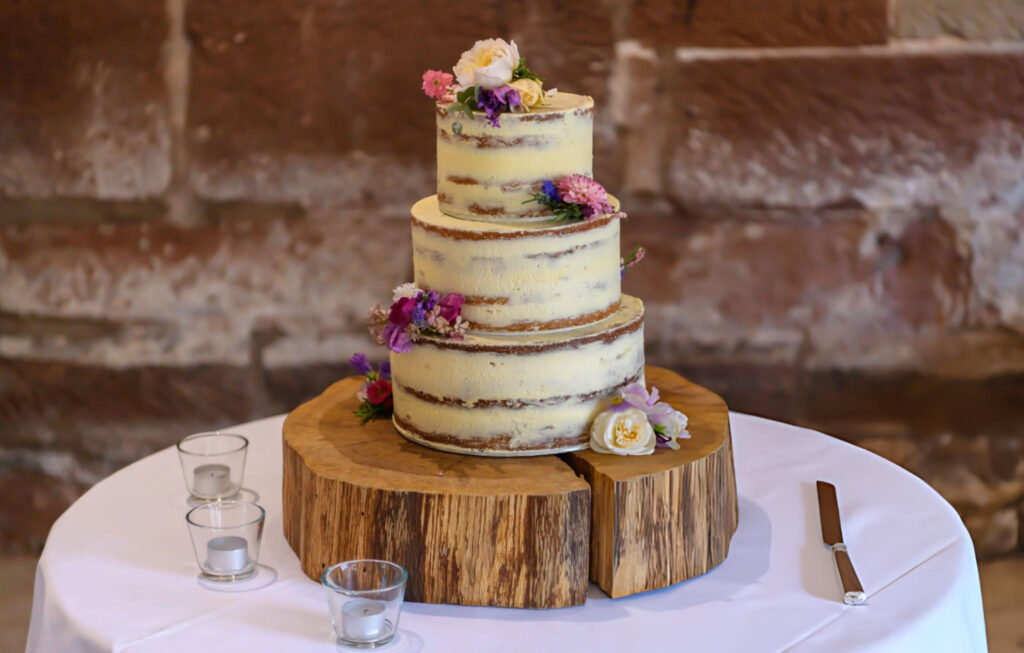

Ingredients You’ll Need for the Perfect Floral Naked Vanilla Cake
This cake starts with a soft vanilla buttermilk sponge made with butter, sugar, eggs, flour, baking powder, salt, vanilla, and buttermilk. Using room-temperature ingredients helps the batter blend smoothly and creates a more even texture.
A simple vanilla syrup made with sugar, water, and vanilla adds extra moisture to the baked layers. The vanilla buttercream combines butter, vegetable shortening, icing sugar, cream, and vanilla for a smooth, fluffy frosting that is sturdy enough for layering.
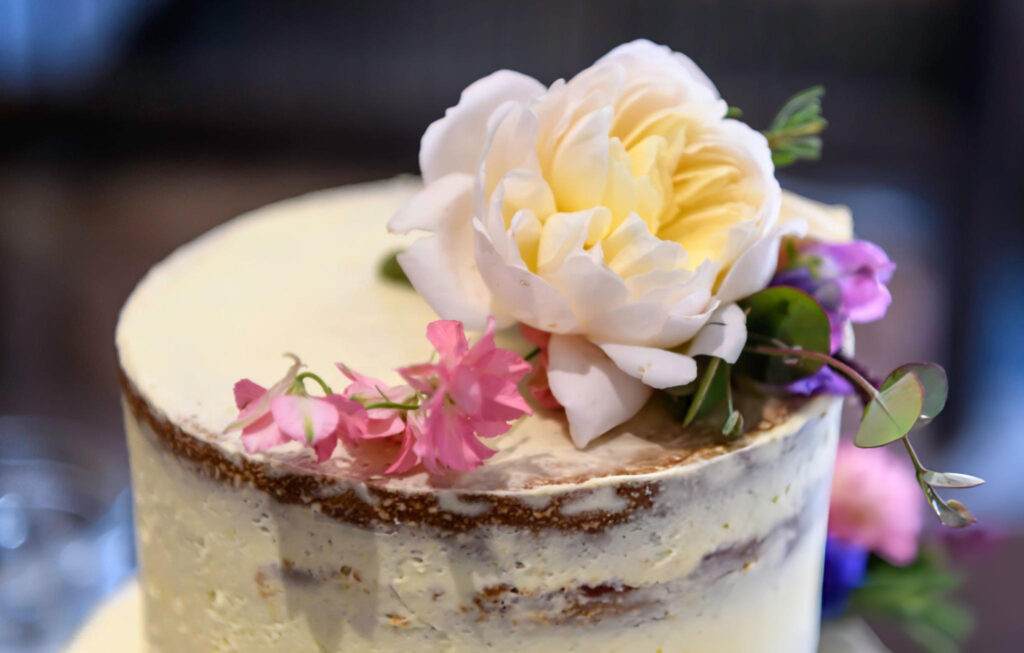
Fresh flowers complete the decoration. When using flowers that are not specifically grown for culinary purposes, protective barriers should be used to prevent the stems from coming into direct contact with the cake.
How to Make and Assemble the Floral Naked Vanilla Cake
Begin by preparing four 6-inch round cake tins with grease and parchment paper. If you only have two tins, bake the cakes in batches.
Beat the room-temperature butter and caster sugar for about five minutes until pale and fluffy. Sift together the flour, baking powder, and salt. Add the eggs one at a time, beating well after each addition, then mix in the vanilla extract.
Gradually add the dry ingredients and buttermilk, alternating between the two and beginning and ending with the flour mixture. Mix just until combined to avoid overworking the batter.
Divide the batter evenly between the tins and bake at 170° Celsius for 20–25 minutes, or until a toothpick inserted into the center comes out clean. Cool the cakes for about 10 minutes in their tins before transferring them to a wire rack. Once completely cool, wrap and refrigerate the layers for 1–3 hours.
For the vanilla syrup, heat the water and sugar in a saucepan until the sugar dissolves. Bring the mixture to a boil, remove it from the heat, and stir in the vanilla extract. Let it cool completely.
Prepare the buttercream by beating the butter and vegetable shortening until creamy. Gradually add the sifted icing sugar, followed by the cream and vanilla extract. Continue beating until light and fluffy.
To assemble the cake, place the first sponge layer on a cake board and brush lightly with vanilla syrup. Pipe a ring of buttercream around the edge to create a dam, then fill the center with more frosting and smooth it evenly.
Repeat with the remaining cake layers until all four are stacked. Refrigerate the assembled cake for at least one hour, then carefully trim away any excess buttercream around the sides to create the signature naked-cake appearance.
For the floral decoration, trim the flower stems to about 2 inches. If the flowers are not food-safe, use floral tape, fondant, or plastic straws as a protective barrier between the stems and the cake. Arrange the flowers on top for an elegant, natural finish.
1- Recipe Tips
- Use room-temperature ingredients: This helps the butter, eggs, and buttermilk combine smoothly.
- Cream the butter and sugar well: Beat for about five minutes to create a lighter cake texture.
- Avoid overmixing: Stop mixing as soon as the flour is incorporated to keep the sponge tender.
- Divide the batter evenly: A kitchen scale makes it easier to achieve uniform cake layers.
- Chill the cake layers: Cold sponge is firmer and easier to stack without crumbling.
- Apply syrup lightly: Brush each layer evenly without soaking the cake.
- Use a buttercream dam: This keeps the filling neatly contained between the layers.
- Chill before trimming: Firm buttercream is much easier to shape into clean, even sides.
- Protect floral stems: Never place untreated, non-food-safe stems directly into the cake.
2- What to Serve With This Recipe
Serve slices of Floral Naked Vanilla Cake with freshly brewed coffee, espresso, or a cup of Earl Grey or English breakfast tea. The gentle bitterness of coffee and tea pairs beautifully with the sweet vanilla buttercream.
Fresh strawberries, raspberries, and blueberries are also excellent accompaniments. Their natural tartness provides a refreshing contrast to the richness of the cake. For an extra indulgent presentation, serve each slice with a small spoonful of lightly sweetened whipped cream.
3- frequently Asked Questions
- Can I make this cake with fewer layers?
Yes. You can use fewer layers for a shorter cake, adjusting the amount of buttercream and syrup as needed. - Why is my cake dry?
Overbaking is a common cause. Check the cake toward the lower end of the baking time and brush the cooled layers lightly with vanilla syrup. - How do I stop the buttercream from bulging?
Pipe an even buttercream dam around each layer and avoid overfilling the center. Chilling the assembled cake also helps the frosting stay firm. - Can I use different flowers?
Yes. Choose suitable flowers for cake decoration and ensure that non-food-safe stems are separated from the cake with an appropriate barrier. - How should I store the cake?
Keep the finished cake refrigerated and covered until ready to serve. Let it sit briefly before slicing so the buttercream can soften slightly. - Can I make the buttercream without shortening?
Yes. An all-butter buttercream can be used, although it may be softer and less stable in warm conditions.
Allow the chilled cake to sit briefly before serving for the best texture. Use a sharp knife to cut clean slices that reveal the beautiful layers of vanilla sponge and buttercream.
Ingredients
Vanilla Buttercream
- 120 grams (½ cup), unsalted butter, room temperature
- 90 grams (½ cup), trex or vegetable shortening, room temperature
- 400 grams (4 cups), icing sugar, sifted
- 60 ml (¼ cup), whipping or heavy cream
- 2 teaspoons vanilla extract
Vanilla Syrup
- 50 grams (¼ cup), caster sugar
- 60 ml (¼ cup), water
- 1 teaspoon vanilla extract
Vanilla Buttermilk Cake
- 270 grams (2¼ cup), plain flour
- 250 grams (1¼ cup), caster sugar
- 300 grams (1¼ cups), unsalted butter, room temperature
- 240 ml (1 cup), buttermilk, room temperature
- 3 eggs
- 2 teaspoons vanilla extract
- 2½ teaspoons baking powder
- ¼ teaspoom salt
Instructions
Vanilla Buttermilk Cake
Begin by preheating the oven to 170° Celsius. Grease the base and sides of four 6-inch round cake tins, then line the bottoms with parchment paper. If you only have two cake tins available, bake the cakes in two batches, allowing the tins to cool before reusing them.
In the bowl of a stand mixer, combine the room-temperature butter and caster sugar. Beat the mixture for approximately 5 minutes, or until it becomes noticeably pale, light, and fluffy. This step helps create a tender and delicate cake texture.
In a separate bowl, sift together the plain flour, baking powder, and salt. Set the dry ingredients aside while you prepare the wet mixture.
Add the eggs one at a time to the creamed butter and sugar, beating thoroughly after each addition. Add the vanilla extract and continue mixing until everything is evenly incorporated.
With the mixer running on low speed, gradually add the flour mixture and buttermilk alternately. Start and finish with the dry ingredients, mixing only until the batter comes together. Avoid overmixing, as this can result in a denser sponge.
Divide the batter evenly among the prepared cake tins. A measuring cup and kitchen scale can make this easier and help ensure that all four layers bake to a similar size and thickness.
Bake for 20–25 minutes, or until a toothpick inserted into the center of each cake comes out clean. Allow the cakes to rest in their tins for about 10 minutes before carefully turning them out onto a wire rack. Remove the parchment paper and leave the cakes to cool completely.
Once cooled, wrap each sponge securely in cling film and refrigerate for 1–3 hours. Chilling the cakes makes them firmer and easier to stack and decorate without excessive crumbs.
Vanilla Syrup
Place the water and caster sugar in a small saucepan over low heat. Stir gently until the sugar has completely dissolved.
Increase the heat to medium and bring the syrup to a boil, stirring regularly to ensure the mixture remains smooth. Remove the saucepan from the heat and stir in the vanilla extract.
Set the syrup aside and allow it to cool completely before brushing it over the cake layers.
Vanilla Buttercream
Place the softened butter and vegetable shortening in the bowl of a stand mixer. Beat for around 5 minutes, or until the mixture is smooth, creamy, and noticeably lighter in texture.
Gradually add the sifted icing sugar, approximately one cup at a time, beating well after each addition. As the buttercream becomes thicker, slowly pour in the whipping or heavy cream. Continue beating until the frosting becomes light, smooth, and fluffy.
Add the vanilla extract and mix once more until the flavor is evenly distributed throughout the buttercream.
Assembling the Cake
Place the first layer of chilled sponge onto a thin cake board that is the same size as the cake, keeping the flat side facing downward. Using a pastry brush, lightly coat the surface with the cooled vanilla syrup. Repeat the syrup application for each remaining cake layer as you assemble the cake.
Fit a piping bag with a ½-inch round nozzle and fill it with the vanilla buttercream. Pipe a ring of buttercream around the outer edge of the first cake layer. This creates a neat frosting dam that helps contain the filling and keeps it from spilling over the sides.
Fill the center of the buttercream dam with additional frosting, then gently smooth the filling with an offset spatula. Alternatively, pipe the buttercream directly over the entire surface and smooth it evenly if preferred.
Place the next cake layer on top and repeat the process with the vanilla syrup, buttercream dam, and filling. Continue until all four layers of vanilla buttermilk cake have been stacked.
Refrigerate the assembled cake for at least 1 hour to allow the buttercream to firm up. Once thoroughly chilled, use a sharp knife to carefully trim away any excess buttercream that has bulged around the sides. The goal is to create the characteristic rustic, semi-exposed appearance of a naked cake while keeping the layers neat and defined.
Decorating the Floral Naked Vanilla Cake
When the cake is chilled and neatly trimmed, it is ready for its floral decoration. Prepare the roses by trimming their stems to approximately 2 inches in length.
If the flowers are not organic or specifically grown for culinary use, do not insert the stems directly into the cake. Wrap the stems securely with floral tape to create a protective barrier. Another option is to roll a small amount of sugar paste or fondant into a ball and use it as a barrier between the flowers and the cake.
Plastic straws can also provide an effective protective method. Insert the straws into the cake where you want to position the flowers, then place the prepared flower stems inside the straws. Arrange the roses carefully across the top of the cake to create an elegant, natural-looking floral finish.
Once decorated, the Floral Naked Vanilla Cake is ready to serve.
Floral Naked Vanilla Cake
Ingredients
Vanilla Buttercream
- 120 grams ½ cup, unsalted butter, room temperature
- 90 grams ½ cup, trex or vegetable shortening, room temperature
- 400 grams 4 cups, icing sugar, sifted
- 60 ml ¼ cup, whipping or heavy cream
- 2 teaspoons vanilla extract
Vanilla Syrup
- 50 grams ¼ cup, caster sugar
- 60 ml ¼ cup, water
- 1 teaspoon vanilla extract
Vanilla Buttermilk Cake
- 270 grams 2¼ cup, plain flour
- 250 grams 1¼ cup, caster sugar
- 300 grams 1¼ cups, unsalted butter, room temperature
- 240 ml 1 cup, buttermilk, room temperature
- 3 eggs
- 2 teaspoons vanilla extract
- 2½ teaspoons baking powder
- ¼ teaspoom salt
Instructions
Vanilla Buttermilk Cake
- Begin by preheating the oven to 170° Celsius. Grease the base and sides of four 6-inch round cake tins, then line the bottoms with parchment paper. If you only have two cake tins available, bake the cakes in two batches, allowing the tins to cool before reusing them.
- In the bowl of a stand mixer, combine the room-temperature butter and caster sugar. Beat the mixture for approximately 5 minutes, or until it becomes noticeably pale, light, and fluffy. This step helps create a tender and delicate cake texture.
- In a separate bowl, sift together the plain flour, baking powder, and salt. Set the dry ingredients aside while you prepare the wet mixture.
- Add the eggs one at a time to the creamed butter and sugar, beating thoroughly after each addition. Add the vanilla extract and continue mixing until everything is evenly incorporated.
- With the mixer running on low speed, gradually add the flour mixture and buttermilk alternately. Start and finish with the dry ingredients, mixing only until the batter comes together. Avoid overmixing, as this can result in a denser sponge.
- Divide the batter evenly among the prepared cake tins. A measuring cup and kitchen scale can make this easier and help ensure that all four layers bake to a similar size and thickness.
- Bake for 20–25 minutes, or until a toothpick inserted into the center of each cake comes out clean. Allow the cakes to rest in their tins for about 10 minutes before carefully turning them out onto a wire rack. Remove the parchment paper and leave the cakes to cool completely.
- Once cooled, wrap each sponge securely in cling film and refrigerate for 1–3 hours. Chilling the cakes makes them firmer and easier to stack and decorate without excessive crumbs.
Vanilla Syrup
- Place the water and caster sugar in a small saucepan over low heat. Stir gently until the sugar has completely dissolved.
- Increase the heat to medium and bring the syrup to a boil, stirring regularly to ensure the mixture remains smooth. Remove the saucepan from the heat and stir in the vanilla extract.
- Set the syrup aside and allow it to cool completely before brushing it over the cake layers.
Vanilla Buttercream
- Place the softened butter and vegetable shortening in the bowl of a stand mixer. Beat for around 5 minutes, or until the mixture is smooth, creamy, and noticeably lighter in texture.
- Gradually add the sifted icing sugar, approximately one cup at a time, beating well after each addition. As the buttercream becomes thicker, slowly pour in the whipping or heavy cream. Continue beating until the frosting becomes light, smooth, and fluffy.
- Add the vanilla extract and mix once more until the flavor is evenly distributed throughout the buttercream.
Assembling the Cake
- Place the first layer of chilled sponge onto a thin cake board that is the same size as the cake, keeping the flat side facing downward. Using a pastry brush, lightly coat the surface with the cooled vanilla syrup. Repeat the syrup application for each remaining cake layer as you assemble the cake.
- Fit a piping bag with a ½-inch round nozzle and fill it with the vanilla buttercream. Pipe a ring of buttercream around the outer edge of the first cake layer. This creates a neat frosting dam that helps contain the filling and keeps it from spilling over the sides.
- Fill the center of the buttercream dam with additional frosting, then gently smooth the filling with an offset spatula. Alternatively, pipe the buttercream directly over the entire surface and smooth it evenly if preferred.
- Place the next cake layer on top and repeat the process with the vanilla syrup, buttercream dam, and filling. Continue until all four layers of vanilla buttermilk cake have been stacked.
- Refrigerate the assembled cake for at least 1 hour to allow the buttercream to firm up. Once thoroughly chilled, use a sharp knife to carefully trim away any excess buttercream that has bulged around the sides. The goal is to create the characteristic rustic, semi-exposed appearance of a naked cake while keeping the layers neat and defined.
Decorating the Floral Naked Vanilla Cake
- When the cake is chilled and neatly trimmed, it is ready for its floral decoration. Prepare the roses by trimming their stems to approximately 2 inches in length.
- If the flowers are not organic or specifically grown for culinary use, do not insert the stems directly into the cake. Wrap the stems securely with floral tape to create a protective barrier. Another option is to roll a small amount of sugar paste or fondant into a ball and use it as a barrier between the flowers and the cake.
- Plastic straws can also provide an effective protective method. Insert the straws into the cake where you want to position the flowers, then place the prepared flower stems inside the straws. Arrange the roses carefully across the top of the cake to create an elegant, natural-looking floral finish.
- Once decorated, the Floral Naked Vanilla Cake is ready to serve.