
Coconut Layer Graduation Cake Recipe
This Coconut Layer Cake is the definition of a celebration-worthy dessert. Every layer is exceptionally soft and moist, infused with coconut flavor from multiple sources, including coconut milk, coconut extract, finely ground shredded coconut, and a luxurious brushing of cream of coconut. The result is a cake with remarkable depth of flavor and an irresistibly tender crumb that stays moist long after it’s baked.

Ingredients You’ll Need
Creating a beautifully balanced Coconut Layer Cake starts with quality ingredients, each serving a specific purpose in developing flavor, structure, and texture. Cake flour provides the foundation, producing a lighter, finer crumb than all-purpose flour. Baking powder supplies the lift needed for tall, airy layers, while kosher salt subtly enhances the sweetness and rounds out the coconut flavor.
The richness of the batter comes from softened butter, virgin coconut oil, and an abundance of eggs and egg yolks. Butter contributes classic buttery flavor, while coconut oil reinforces the tropical profile and helps keep the cake exceptionally moist. Using both whole eggs and additional yolks creates a luxurious texture that’s soft yet sturdy enough for stacking.
Vanilla extract and coconut extract work together to amplify the cake’s aromatic qualities without overpowering one another. Unsweetened coconut milk adds moisture while maintaining a clean coconut flavor, and the cream of coconut brushed over the warm layers creates an extra level of tenderness that makes every bite melt in your mouth.
Finely processed sweetened shredded coconut is folded into the batter, dispersing coconut flavor evenly throughout each layer without creating a coarse texture. For the frosting, butter, confectioners’ sugar, coconut milk, vanilla, and coconut extract combine into a smooth buttercream that’s rich, creamy, and easy to spread. Toasted coconut introduces a delicate crunch and a deeper, nuttier flavor that contrasts beautifully with the soft cake.
The decorative details complete the presentation. Green gel food coloring creates a striking checkerboard buttercream design, while fresh flowers transform the finished cake into a true showpiece suitable for elegant celebrations.
Step-by-Step Instructions
Although this cake features several components, each stage builds naturally upon the previous one, making the process manageable and rewarding. Careful preparation and patience are the keys to achieving professional-quality results.
Begin by preparing the cake pans thoroughly with parchment paper and cooking spray to ensure each layer releases cleanly after baking. Whisking the dry ingredients separately guarantees even distribution of the baking powder and salt, while briefly pulsing the shredded coconut creates a finer texture that blends seamlessly into the batter.
Creaming the butter, coconut oil, and sugar until pale and fluffy is one of the most important steps. This process incorporates air into the batter, helping create a delicate crumb. Adding the eggs individually maintains a smooth emulsion, while alternating the dry ingredients with the coconut milk prevents overmixing and produces a tender cake. Once the finely ground coconut is folded in, divide the batter evenly among the prepared pans to ensure uniform baking.
After baking, the warm cake layers are pierced with small holes before being brushed generously with cream of coconut. This simple technique allows the sweet coconut mixture to soak deep into the cake, enhancing both flavor and moisture. Cooling the layers completely is essential before frosting to prevent the buttercream from softening or sliding.
The buttercream comes together by gradually incorporating confectioners’ sugar into whipped butter before adding the extracts and coconut milk. Beating the frosting until light and airy creates a silky texture that’s easy to spread, while mixing slowly at the end removes excess air bubbles for an exceptionally smooth finish.
Assembly begins by layering buttercream and toasted coconut between each cake layer. Once stacked, the entire cake is frosted and chilled to stabilize the buttercream before decorating. The checkerboard design is created by dividing the reserved frosting into white and two shades of green, then carefully piping alternating squares around the cake. Smoothing each section individually produces crisp, clean lines, and the final addition of fresh flowers completes the elegant presentation.
Recipe Tips
- Measure cake flour accurately by spooning it into the measuring cup and leveling it off to prevent a dense cake.
- Bring all refrigerated ingredients to room temperature before mixing. This helps create a smoother batter and encourages even baking.
- Cream the butter and sugar thoroughly until noticeably lighter in color. Proper aeration is essential for a soft, delicate crumb.
- Alternate the flour mixture and coconut milk exactly as directed, beginning and ending with the dry ingredients to maintain the batter’s structure.
- Avoid overmixing once the flour is added, as excessive mixing can develop gluten and result in a firmer texture.
- Brush the warm cake layers generously with cream of coconut to maximize moisture and infuse every layer with additional coconut flavor.
- Cool the cake completely before frosting to ensure the buttercream remains stable and spreads smoothly.
- Toast the shredded coconut carefully, stirring frequently for even browning and enhanced flavor.
- Chill the frosted cake before decorating to create cleaner piping lines and sharper decorative details.
- Use an offset spatula or cake scraper to achieve a smooth, professional-looking finish on the buttercream.
- Store the cake properly by covering it well and refrigerating it until needed. Allow it to sit at room temperature before serving for the best flavor and texture.
Flavor Variations and Creative Decorating Ideas
One of the greatest strengths of this Coconut Layer Cake is how easily it can be personalized while preserving its signature tropical appeal. Toasted coconut can be added between every layer for additional crunch and deeper flavor, while citrus zest such as lime or orange introduces refreshing brightness that complements the coconut beautifully. A small amount of almond or rum extract can also add subtle complexity without overwhelming the cake.
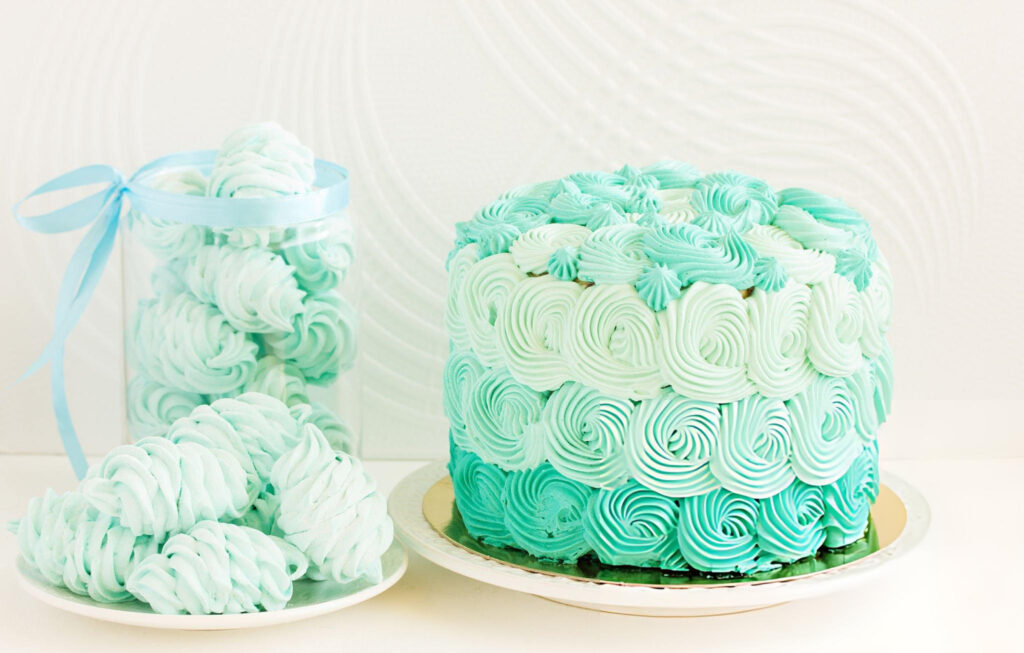
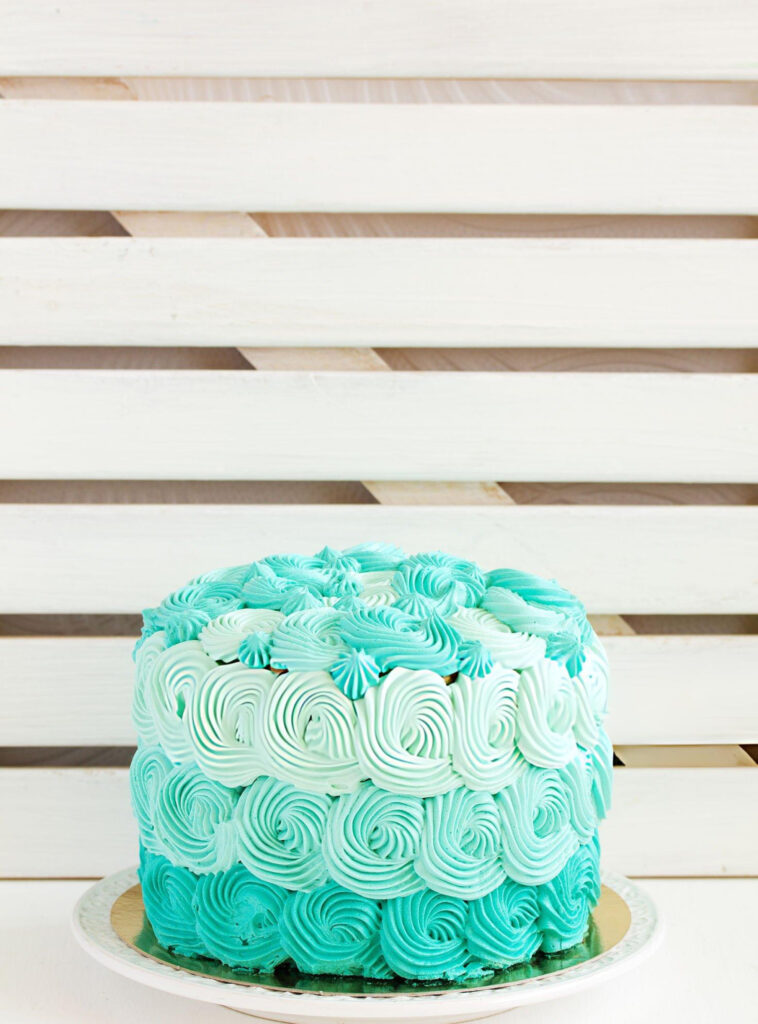
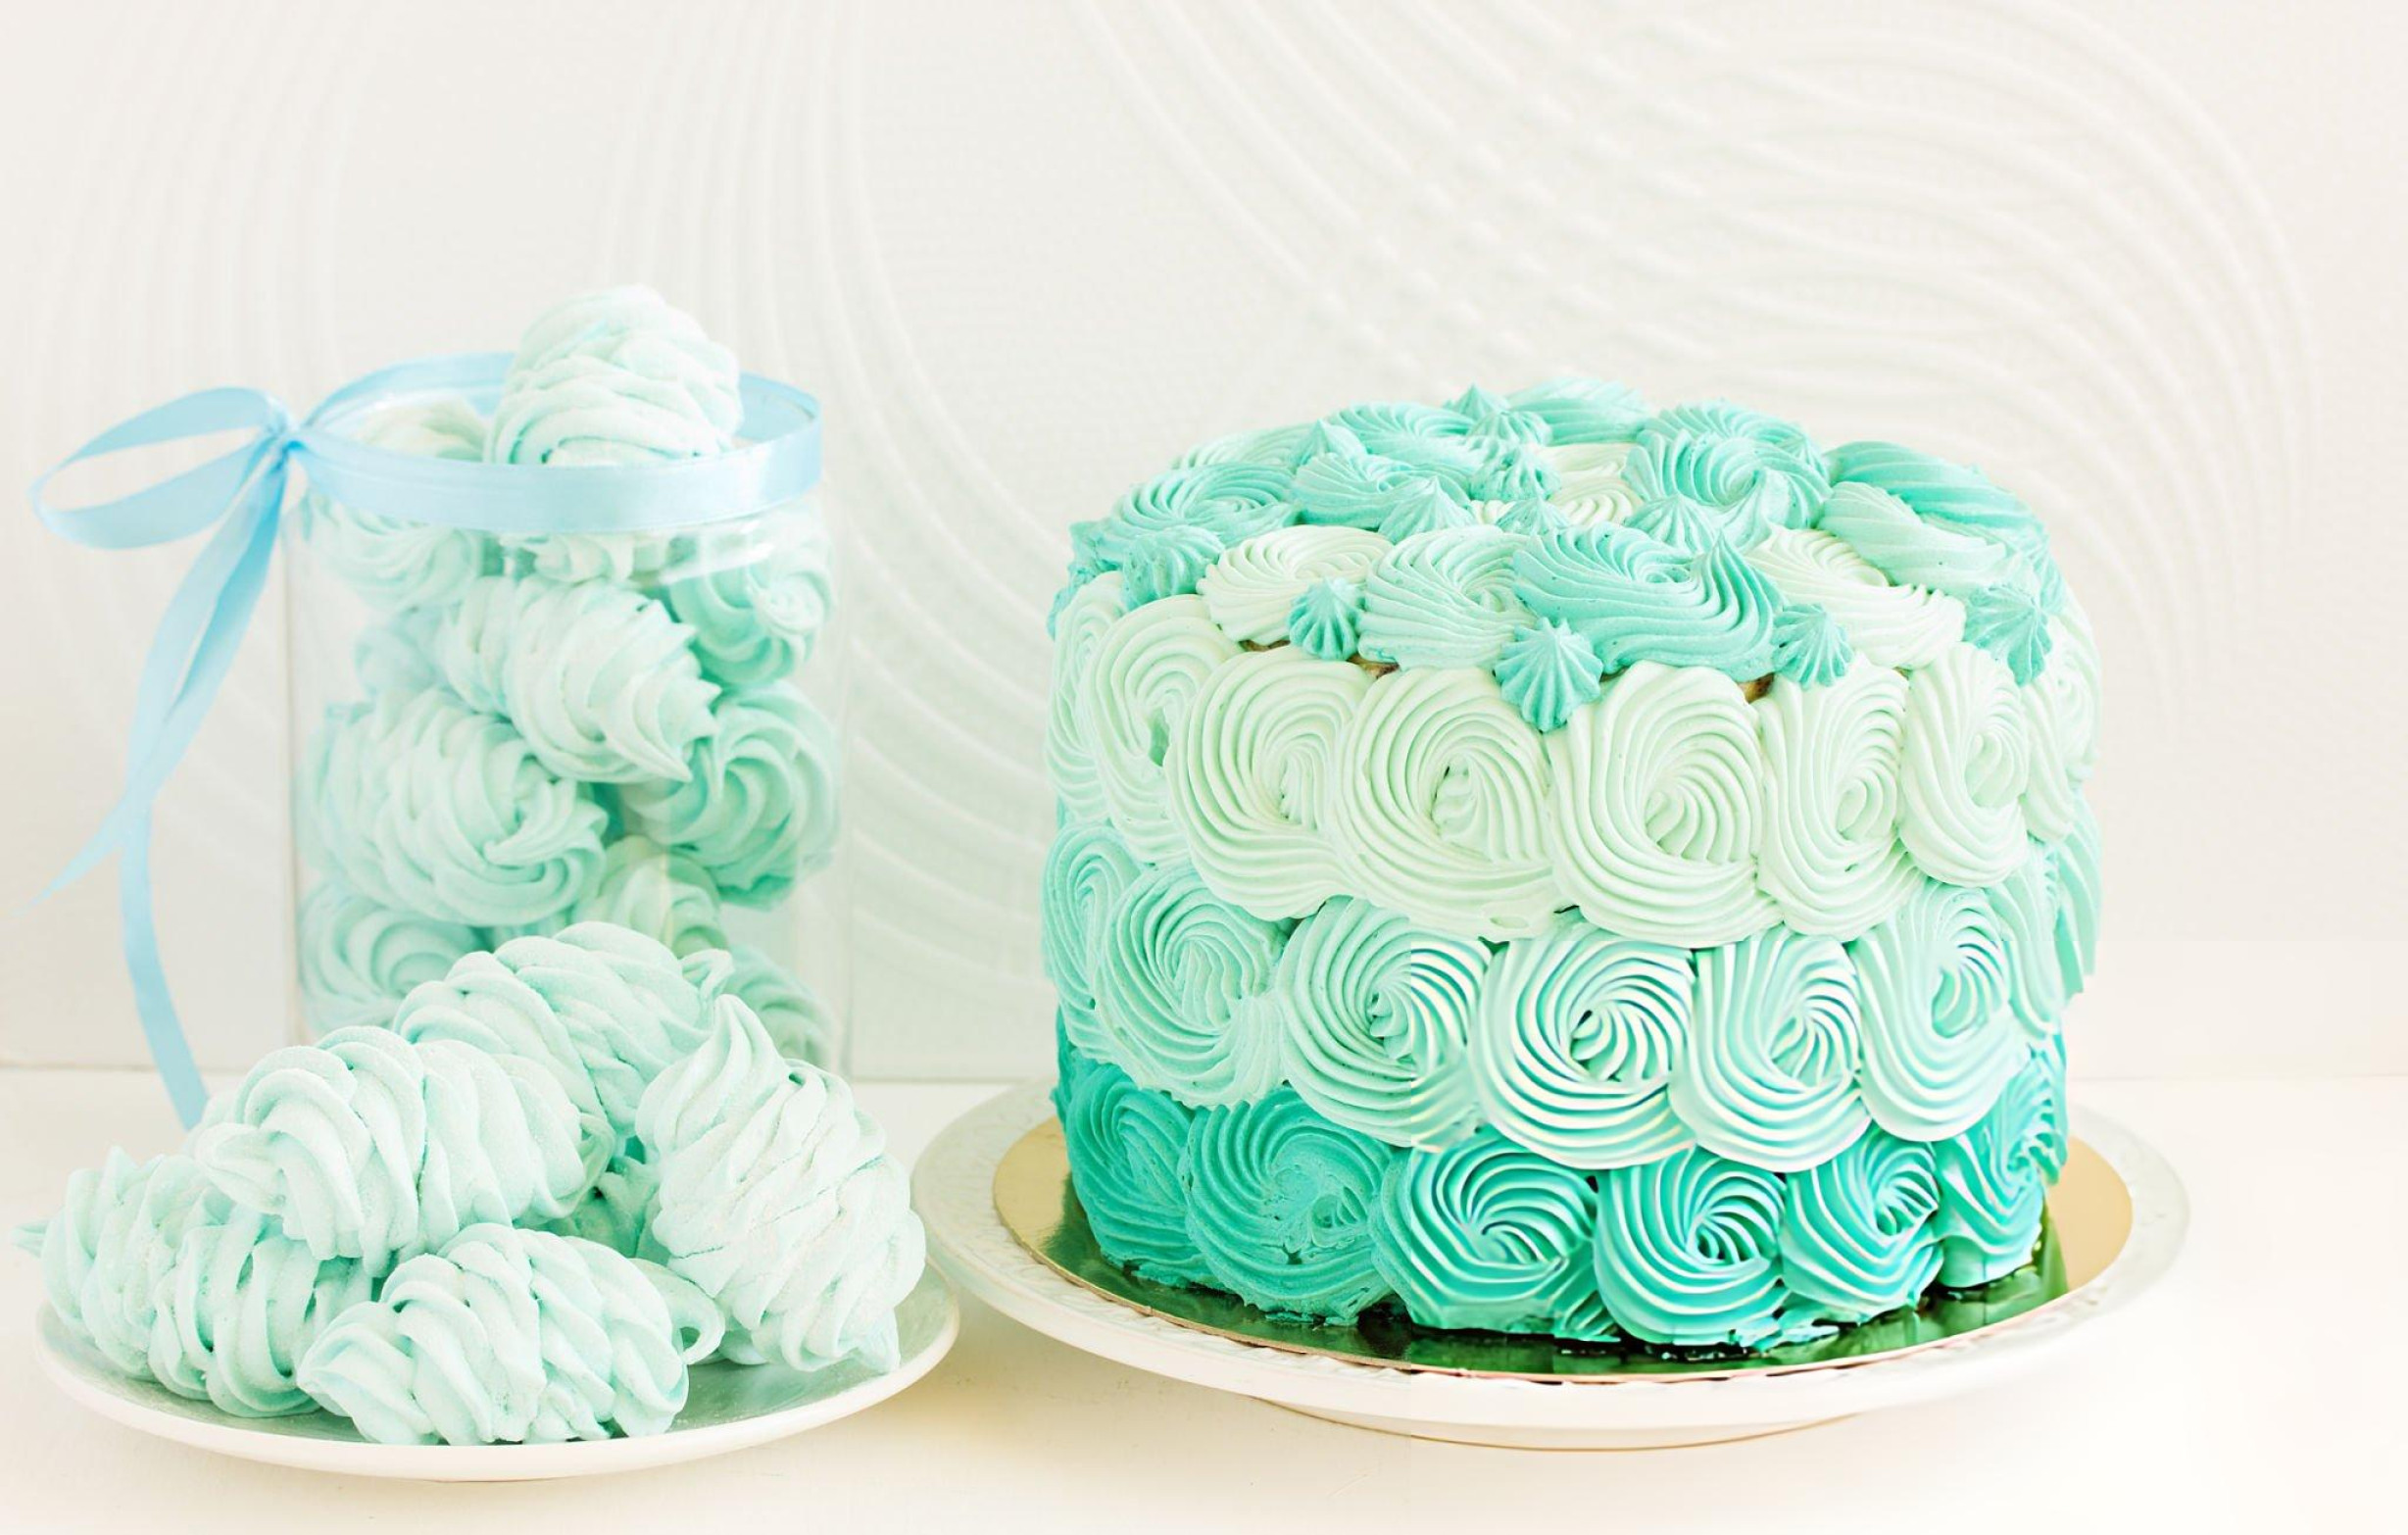
Decorating possibilities are nearly endless. Instead of the checkerboard design, the cake can be coated entirely with toasted coconut flakes for a rustic appearance or finished with textured buttercream swirls for a classic bakery look. Edible flowers create an elegant alternative to fresh floral decorations, while an ombré buttercream effect offers a modern twist.
The recipe also adapts wonderfully to different formats. The batter can be baked into cupcakes for individual servings or prepared as a sheet cake for casual gatherings. Fruit fillings such as pineapple, mango, raspberry, or passion fruit introduce vibrant bursts of flavor that pair exceptionally well with the coconut cake and creamy buttercream.
What to Serve With This Recipe
Although this Coconut Layer Cake is impressive enough to stand alone, thoughtfully chosen accompaniments can create an even more memorable dessert experience. Freshly brewed coffee provides a pleasant contrast to the cake’s sweetness, while Earl Grey or jasmine tea complements its delicate coconut aroma without competing for attention. A creamy coconut latte creates a harmonious tropical pairing, and sparkling lemonade offers a refreshing citrus balance.
Fresh fruit is another excellent companion. A bowl of mixed berries, sliced mango, pineapple, or tropical fruit salad introduces natural acidity that brightens each bite. Vanilla bean ice cream adds cool creaminess, while lemon sorbet provides a light, refreshing finish after a rich slice of cake.
This elegant dessert is especially suited for birthdays, bridal showers, baby showers, Easter celebrations, anniversaries, weddings, and holiday gatherings. Its striking appearance and luxurious flavor make it equally appropriate for formal occasions and intimate family celebrations.
Frequently Asked Questions
- Can I bake the cake layers in advance?
Yes. The cake layers can be baked one or two days ahead, wrapped tightly after cooling, and stored until you’re ready to assemble. - Can I freeze the cake?
Absolutely. Individual layers or the fully assembled cake can be frozen when wrapped well. Thaw overnight in the refrigerator before serving. - Why did my cake turn out dry?
Overbaking, inaccurate flour measurements, or skipping the cream of coconut brushing can all reduce the cake’s moisture. - Can I substitute all-purpose flour for cake flour?
Cake flour is recommended because it produces a finer, softer crumb. All-purpose flour will create a slightly denser texture. - What’s the difference between coconut milk and cream of coconut?
Coconut milk is unsweetened and used in the batter, while cream of coconut is sweetened and brushed over the baked cake layers for added richness and moisture. - How do I achieve smooth buttercream?
Beat the frosting until fluffy, then finish by mixing on low speed to remove excess air bubbles before decorating. - Is coconut extract necessary?
While the cake will still be delicious without it, coconut extract significantly enhances the overall coconut flavor. - How should leftovers be stored?
Cover the cake well and refrigerate it. Allow slices to come to room temperature before serving for the softest texture and fullest flavor.
This Coconut Layer Cake combines elegant presentation with exceptional flavor, making it a dessert that’s guaranteed to impress from the very first slice. Its soft crumb, rich coconut aroma, silky buttercream, and beautiful decorative finish create a memorable centerpiece worthy of life’s biggest celebrations.
Ingredients
For the Cake
Dry Ingredients
- 4 cups cake flour, spooned into the measuring cup and leveled
- 4 teaspoons baking powder
- 1 1/2 teaspoons kosher salt
- 2 1/2 cups sweetened shredded coconut, finely ground in a food processor
Wet Ingredients
- 3/4 cup (1 1/2 sticks) unsalted butter, softened to room temperature
- 1/2 cup solid virgin coconut oil
- 3 1/2 cups granulated sugar
- 5 teaspoons pure vanilla extract
- 2 1/2 teaspoons pure coconut extract
- 6 large eggs, at room temperature
- 6 large egg yolks, at room temperature
- 1 1/2 cups unsweetened coconut milk, stirred until smooth
- 1/2 cup sweetened cream of coconut, stirred well
For Preparing the Pans
- Cooking spray
- Parchment paper
For the Coconut Buttercream Frosting
- 1 1/4 pounds (5 sticks) unsalted butter, softened
- 2 pounds confectioners’ sugar
- 3/4 teaspoon kosher salt
- 2 teaspoons pure vanilla extract
- 1 teaspoon pure coconut extract
- 1 cup unsweetened coconut milk, well stirred
- 1 cup toasted sweetened shredded coconut
For Decorating
- Green gel food coloring
- Fresh flowers for garnish
Instructions
Prepare the Cake
- Preheat the oven to 350°F (175°C). Line four 8-inch round cake pans with parchment paper, then lightly coat both the pans and parchment with cooking spray to prevent sticking.
- In a medium mixing bowl, whisk together the cake flour, baking powder, and kosher salt until evenly combined. Place the shredded sweetened coconut into a food processor and pulse 10–15 times, or until it reaches a finer texture. Set both mixtures aside.
- In the bowl of a stand mixer or with a hand mixer, beat the softened butter over medium speed for about 1 minute until creamy. Add the granulated sugar, coconut oil, vanilla extract, and coconut extract. Continue beating for 4–6 minutes, scraping down the sides of the bowl occasionally, until the mixture becomes light, fluffy, and pale in color.
- Add the eggs and egg yolks one at a time, mixing thoroughly after each addition before adding the next. This gradual process helps create a smooth, stable batter.
- Reduce the mixer speed to low. Alternate adding the flour mixture and the coconut milk, beginning and ending with the dry ingredients. Mix only until each addition is incorporated to avoid overworking the batter. Gently fold the finely ground coconut into the batter using a spatula.
- Divide the batter evenly among the prepared cake pans, smoothing the tops with an offset spatula or the back of a spoon.
- Bake for 30–35 minutes, or until a toothpick inserted into the center of each cake comes out clean.
- While the cakes are still warm, use a wooden skewer to poke small holes across the surface of each layer. Brush the cream of coconut evenly over the tops, allowing it to soak into the cakes for added moisture and coconut flavor.
- Leave the cakes to cool completely in their pans on wire racks for approximately 1 1/2 hours before assembling.
Prepare the Buttercream Frosting and Assemble
- Beat the softened butter on medium speed for 1–2 minutes until smooth and creamy.
- Lower the mixer speed and gradually add the confectioners’ sugar, mixing until fully incorporated. Add the kosher salt, vanilla extract, and coconut extract.
- Increase the speed to medium-high and beat for 1–2 minutes until the frosting becomes light and fluffy.
- Reduce the speed once more and slowly pour in the coconut milk. Mix until fully combined, then beat on high speed for about 1 additional minute to create a smooth, airy buttercream.
- Finally, lower the speed and mix for about 1 minute to eliminate excess air bubbles, producing a silky frosting that’s easy to spread and decorate.
- Place one cake layer onto a cake stand or serving plate. Spread approximately 1/2 cup of buttercream evenly over the surface, reaching almost to the edges. Sprinkle 1/3 cup of toasted coconut over the frosting, leaving about a 1-inch border around the perimeter. Repeat with the second and third cake layers.
- Position the final cake layer on top. Reserve 2 cups of the buttercream for decorating, then use the remaining frosting to coat the top and sides of the cake with an even layer. Refrigerate the cake for 30 minutes to allow the frosting to firm up.
Decorate the Cake
- Divide the reserved buttercream into three portions. Tint 1 cup with a small amount of green gel food coloring to create a light green shade. Add slightly more coloring to 1/2 cup of frosting to create a darker green. Leave the remaining 1/2 cup white.
- Transfer each color into separate piping bags fitted with a #2 or #3 round piping tip.
- Using a ruler or wide spatula as a guide, lightly mark or visualize 1-inch-wide vertical sections around the cake. Repeat with horizontal sections to create a neat checkerboard pattern.
- Beginning with the first vertical column, pipe the darker green frosting into three alternating squares, leaving every other square empty. Fill the remaining squares in that column with the lighter green frosting.
- On the next vertical column, reverse the pattern by piping the lighter green frosting into the squares positioned diagonally from the previous column, then fill the remaining squares with the white buttercream.
- Continue alternating these two decorating patterns around the entire cake until the checkerboard design is complete.
- Smooth each colored square carefully with a small offset spatula or palette knife for crisp edges and a polished finish.
- Just before serving, decorate the top of the cake with fresh flowers for an elegant finishing touch.
Coconut Layer Graduation Cake Recipe
Ingredients
For the Cake
- 4 cups cake flour spooned into the measuring cup and leveled
- 4 teaspoons baking powder
- 1 1/2 teaspoons kosher salt
- 2 1/2 cups sweetened shredded coconut finely ground in a food processor
Wet Ingredients
- 3/4 cup 1 1/2 sticks unsalted butter, softened to room temperature
- 1/2 cup solid virgin coconut oil
- 3 1/2 cups granulated sugar
- 5 teaspoons pure vanilla extract
- 2 1/2 teaspoons pure coconut extract
- 6 large eggs at room temperature
- 6 large egg yolks at room temperature
- 1 1/2 cups unsweetened coconut milk stirred until smooth
- 1/2 cup sweetened cream of coconut stirred well
- For Preparing the Pans
For Preparing the Pans
- Cooking spray
- Parchment paper
For the Coconut Buttercream Frosting
- 1 1/4 pounds 5 sticks unsalted butter, softened
- 2 pounds confectioners’ sugar
- 3/4 teaspoon kosher salt
- 2 teaspoons pure vanilla extract
- 1 teaspoon pure coconut extract
- 1 cup unsweetened coconut milk well stirred
- 1 cup toasted sweetened shredded coconut
For Decorating
- Green gel food coloring
- Fresh flowers for garnish
Instructions
Prepare the Cake
- Preheat the oven to 350°F (175°C). Line four 8-inch round cake pans with parchment paper, then lightly coat both the pans and parchment with cooking spray to prevent sticking.
- In a medium mixing bowl, whisk together the cake flour, baking powder, and kosher salt until evenly combined. Place the shredded sweetened coconut into a food processor and pulse 10–15 times, or until it reaches a finer texture. Set both mixtures aside.
- In the bowl of a stand mixer or with a hand mixer, beat the softened butter over medium speed for about 1 minute until creamy. Add the granulated sugar, coconut oil, vanilla extract, and coconut extract. Continue beating for 4–6 minutes, scraping down the sides of the bowl occasionally, until the mixture becomes light, fluffy, and pale in color.
- Add the eggs and egg yolks one at a time, mixing thoroughly after each addition before adding the next. This gradual process helps create a smooth, stable batter.
- Reduce the mixer speed to low. Alternate adding the flour mixture and the coconut milk, beginning and ending with the dry ingredients. Mix only until each addition is incorporated to avoid overworking the batter. Gently fold the finely ground coconut into the batter using a spatula.
- Divide the batter evenly among the prepared cake pans, smoothing the tops with an offset spatula or the back of a spoon.
- Bake for 30–35 minutes, or until a toothpick inserted into the center of each cake comes out clean.
- While the cakes are still warm, use a wooden skewer to poke small holes across the surface of each layer. Brush the cream of coconut evenly over the tops, allowing it to soak into the cakes for added moisture and coconut flavor.
- Leave the cakes to cool completely in their pans on wire racks for approximately 1 1/2 hours before assembling.
Prepare the Buttercream Frosting and Assemble
- Beat the softened butter on medium speed for 1–2 minutes until smooth and creamy.
- Lower the mixer speed and gradually add the confectioners’ sugar, mixing until fully incorporated. Add the kosher salt, vanilla extract, and coconut extract.
- Increase the speed to medium-high and beat for 1–2 minutes until the frosting becomes light and fluffy.
- Reduce the speed once more and slowly pour in the coconut milk. Mix until fully combined, then beat on high speed for about 1 additional minute to create a smooth, airy buttercream.
- Finally, lower the speed and mix for about 1 minute to eliminate excess air bubbles, producing a silky frosting that’s easy to spread and decorate.
- Place one cake layer onto a cake stand or serving plate. Spread approximately 1/2 cup of buttercream evenly over the surface, reaching almost to the edges. Sprinkle 1/3 cup of toasted coconut over the frosting, leaving about a 1-inch border around the perimeter. Repeat with the second and third cake layers.
- Position the final cake layer on top. Reserve 2 cups of the buttercream for decorating, then use the remaining frosting to coat the top and sides of the cake with an even layer. Refrigerate the cake for 30 minutes to allow the frosting to firm up.
Decorate the Cake
- Divide the reserved buttercream into three portions. Tint 1 cup with a small amount of green gel food coloring to create a light green shade. Add slightly more coloring to 1/2 cup of frosting to create a darker green. Leave the remaining 1/2 cup white.
- Transfer each color into separate piping bags fitted with a #2 or #3 round piping tip.
- Using a ruler or wide spatula as a guide, lightly mark or visualize 1-inch-wide vertical sections around the cake. Repeat with horizontal sections to create a neat checkerboard pattern.
- Beginning with the first vertical column, pipe the darker green frosting into three alternating squares, leaving every other square empty. Fill the remaining squares in that column with the lighter green frosting.
- On the next vertical column, reverse the pattern by piping the lighter green frosting into the squares positioned diagonally from the previous column, then fill the remaining squares with the white buttercream.
- Continue alternating these two decorating patterns around the entire cake until the checkerboard design is complete.
- Smooth each colored square carefully with a small offset spatula or palette knife for crisp edges and a polished finish.
- Just before serving, decorate the top of the cake with fresh flowers for an elegant finishing touch.