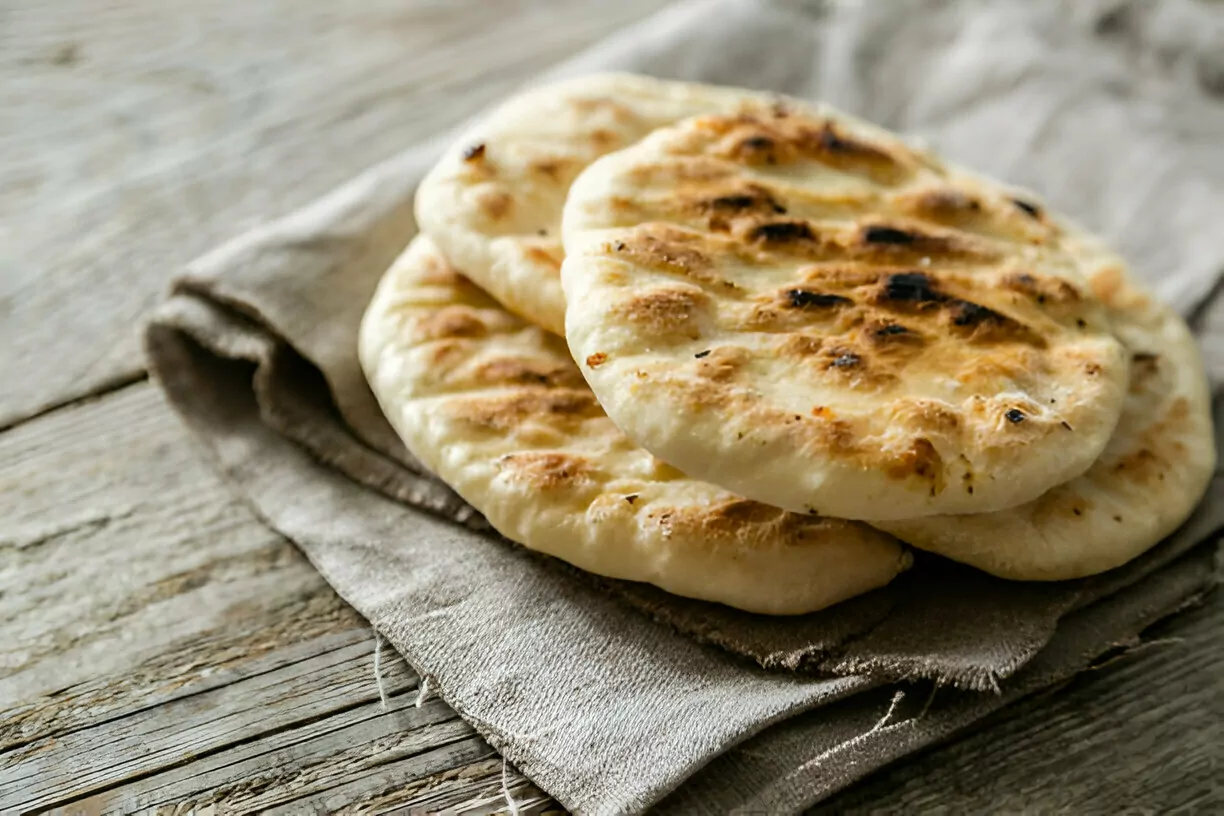
Pita Bread Recipe
Soft, fluffy, and perfectly golden, homemade pita bread is a simple yet satisfying addition to any meal. Whether paired with dips, used for wraps, or served alongside hearty dishes, this versatile bread is a must-try for any home baker.
Print
Save
Servings: 6 pita breads
Calories: 180kcal
Ingredients
- 3 teaspoons dry instant yeast
- 1 teaspoon salt
- 1 teaspoon sugar
- 360 g 12.7 oz. lukewarm water (40°C/104°F)
- 500 –530g 17–18.5 oz. strong white bread flour (or a blend of 50% white and 50% whole-wheat flour)
Instructions
- In the bowl of a stand mixer, combine the yeast, sugar, and lukewarm water. Stir gently until the yeast dissolves completely. Allow the mixture to rest for 5–10 minutes, giving the yeast time to activate and become frothy.
- Gradually add the flour and salt to the yeast mixture. Using a dough hook attachment, mix on a medium setting for 6–8 minutes until the dough comes together into a soft, slightly sticky, and elastic ball. If kneading by hand, mix the ingredients in a large bowl before transferring the dough to a floured surface and kneading until smooth. Depending on the flour used, slight adjustments may be necessary—if the dough feels too dry, add a teaspoon of water; if too wet, incorporate a bit more flour.
- Once the dough reaches the right consistency, lightly coat it with olive oil and place it in a clean mixing bowl. Cover with plastic wrap and a kitchen towel, setting it in a warm spot for at least 20 minutes or until it doubles in size. This initial proofing step is crucial for creating soft, airy pita bread. During colder months, pre-warming the oven for a minute or two, then switching it off, provides a cozy environment for the dough to rise effectively.
- Gently punch down the risen dough to release air pockets, then transfer it to a lightly floured surface. Divide into six equal portions, approximately 145g (5 oz.) each. Lightly dust with flour if necessary and shape them into smooth balls. Let them rest for 15 minutes, allowing the gluten to relax, which will make shaping easier.
- For forming the pita, use either a rolling pin or your hands to stretch each dough ball into a round approximately 20cm in diameter. Rolling with a pin yields a crispier texture, while hand-stretching results in a softer, more pillowy pita. If the dough resists shaping, let it rest briefly before trying again. For a more traditional appearance, press the dough with your fingertips to create dimples or use a fork to prick small holes across the surface.
- To cook the pita, preheat a non-stick frying pan over medium heat. Lightly brush the pan with olive oil, ensuring no excess remains. Cook each pita for about 3 minutes on each side, flipping when golden brown but still soft. For added moisture retention, cover the pan with a lid while cooking.
- For a fluffier, more tender texture, use the steam method. Cut a piece of aluminum foil to fit the pan and coat it generously with olive oil. Place a shaped pita onto the foil. Add 2–3 tablespoons of water to the heated pan—this should generate steam immediately. Quickly place the pita-covered foil into the pan, then cover with a lid. Let it steam for 12–15 minutes before flipping and cooking for another 2–3 minutes. Lightly pressing down with a wooden spoon during the final minutes enhances browning.
- Once cooked, transfer the pita to a clean towel and wrap loosely to retain warmth and softness. Serve fresh or store in an airtight container for later use.
Nutrition
Calories: 180kcal
Did you make this recipe?Want more delicious recipes like this? Follow us on Pinterest for daily inspiration! Click here to Follow me on Pinterest @feaztcom