


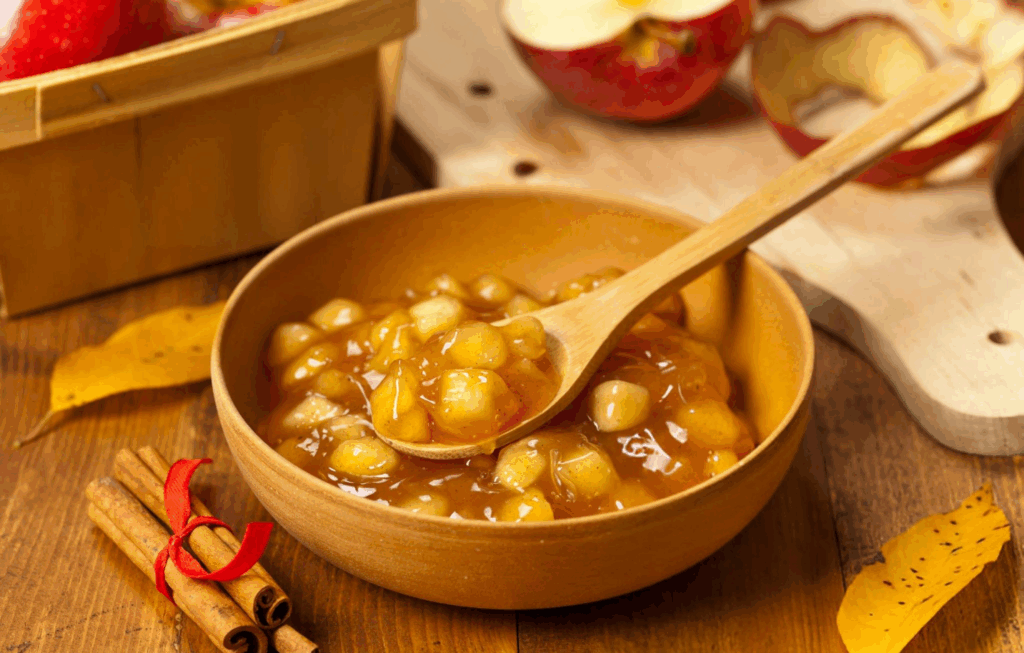
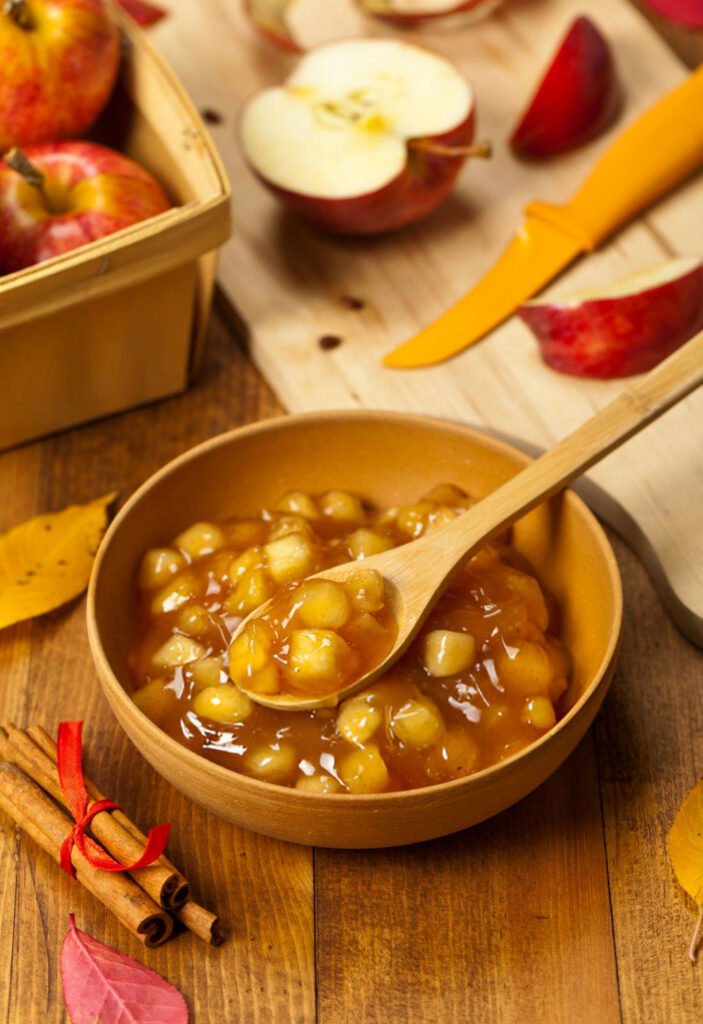
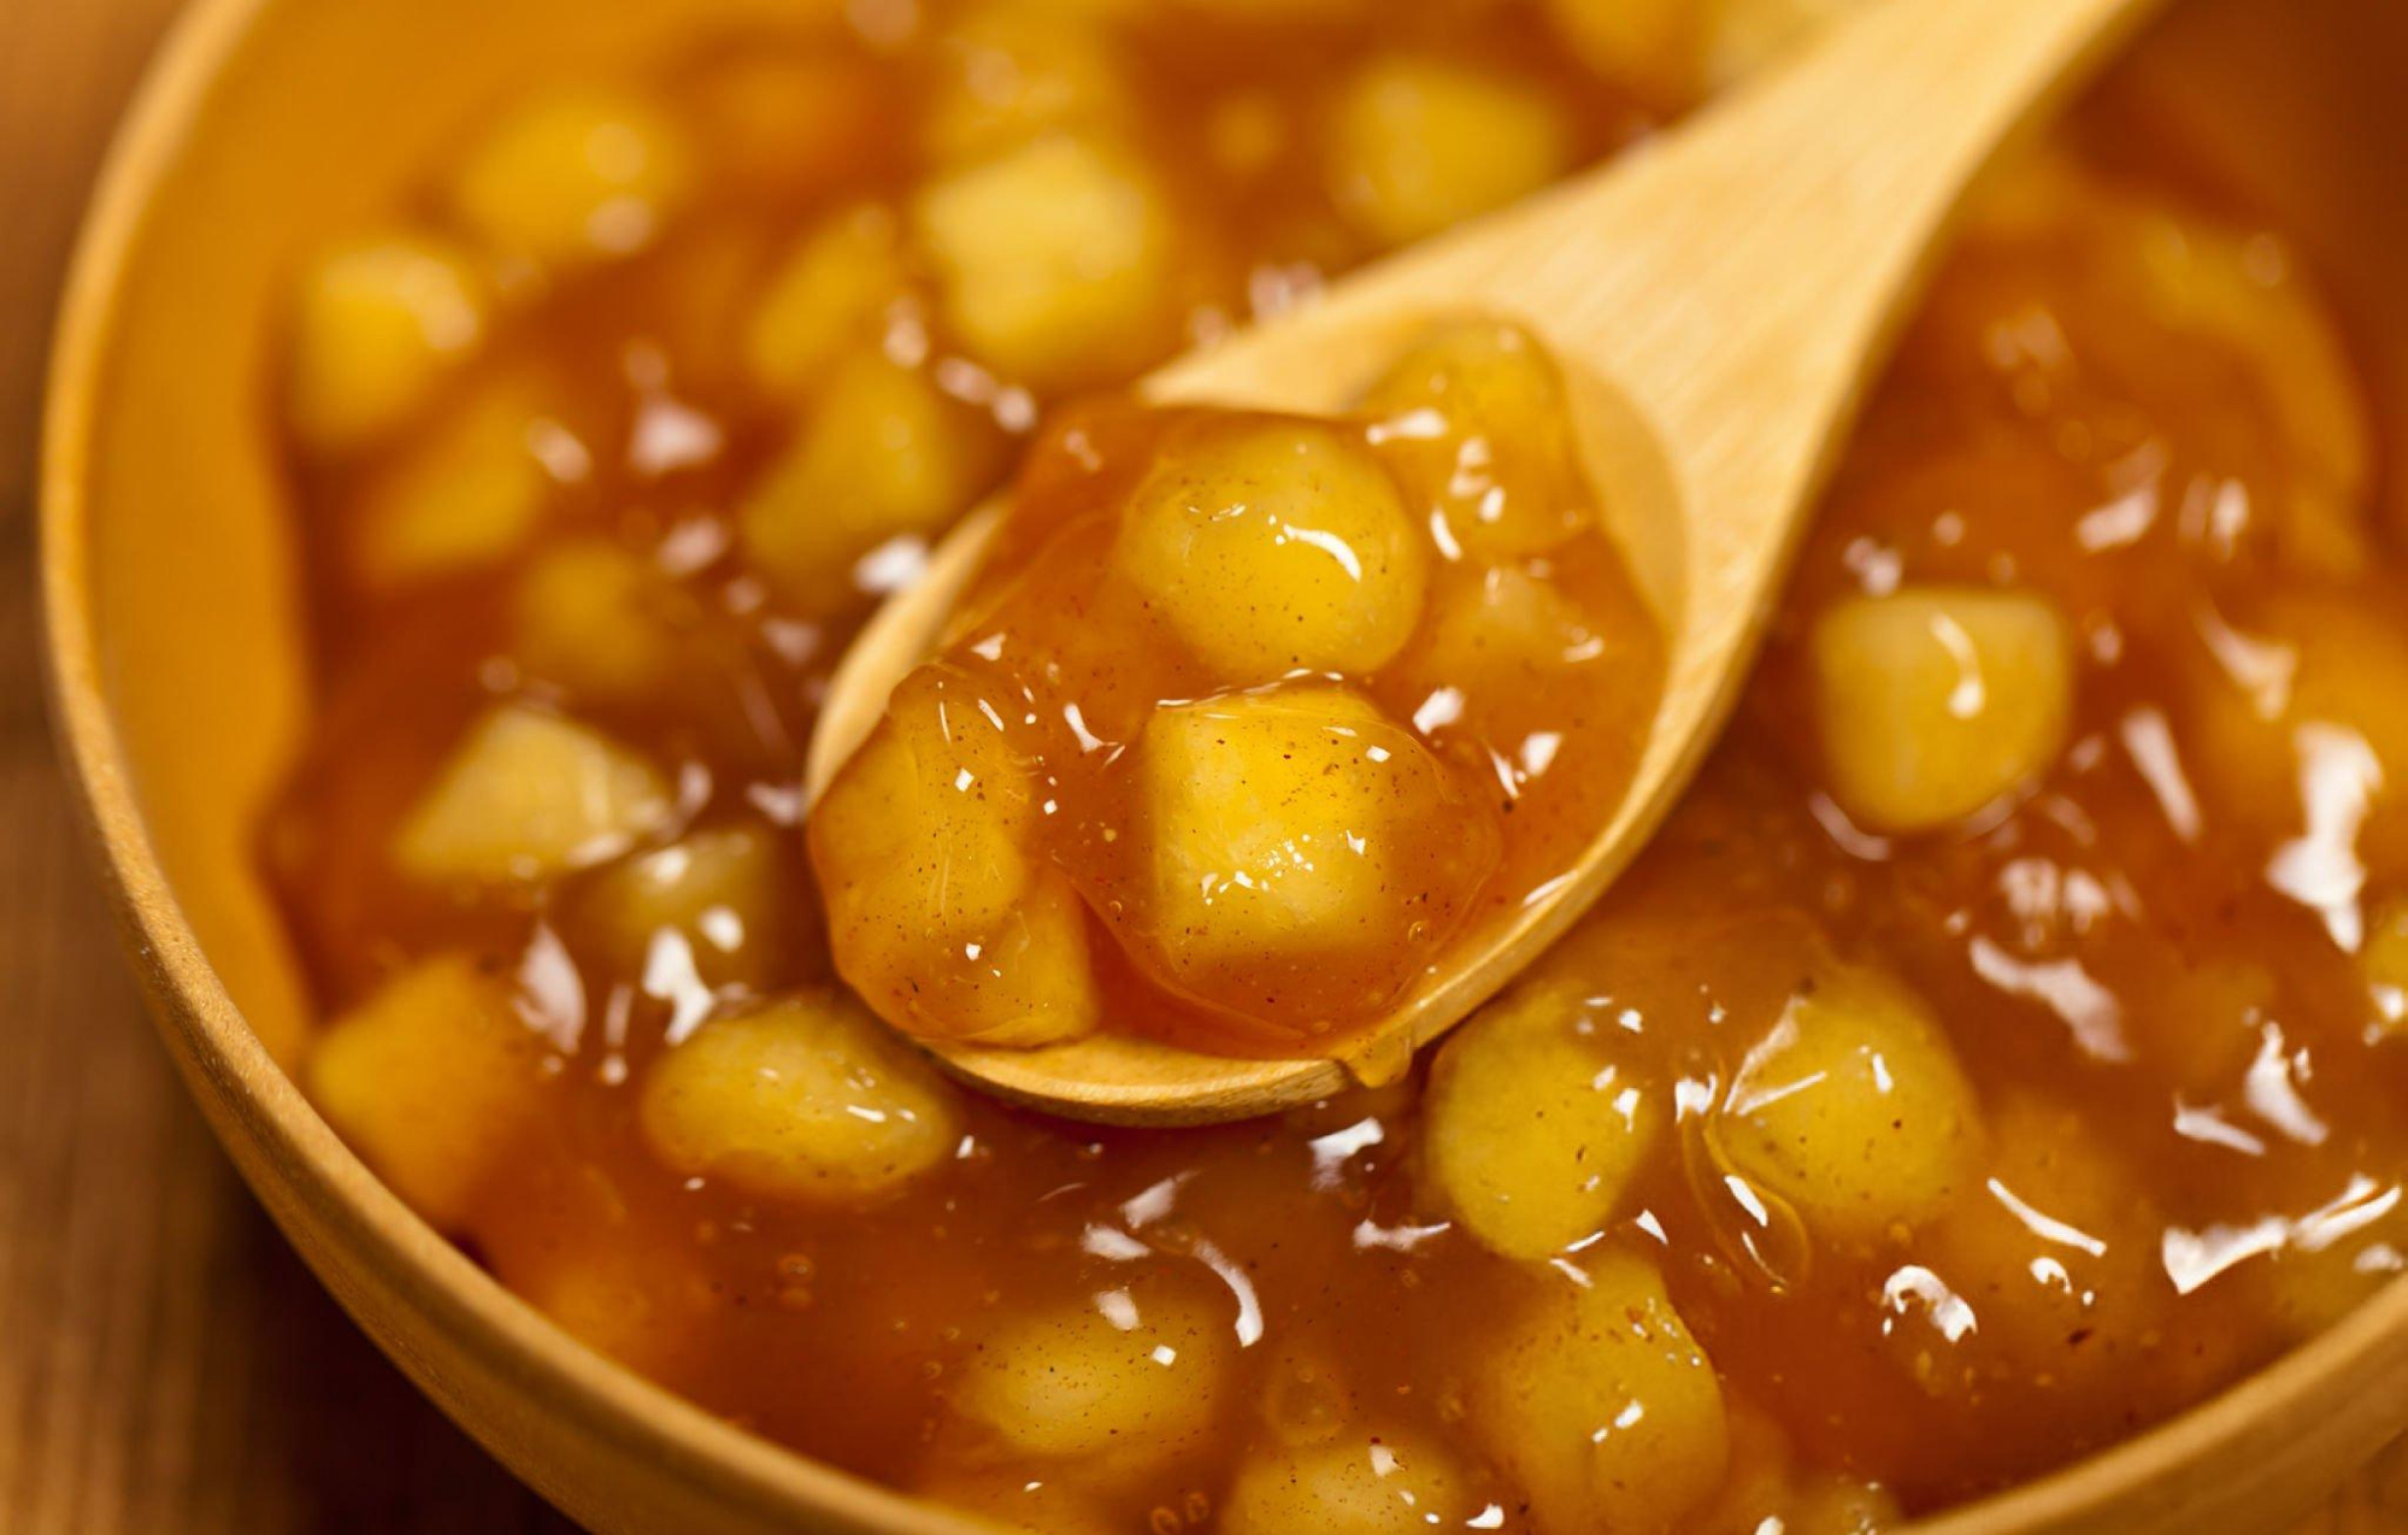
Sweet, warm, and bursting with cozy spice, this homemade apple pie filling is the perfect base for pies, crisps, pastries, or even a spooned-over dessert moment. With tender chunks of apple wrapped in a glossy cinnamon-kissed sauce, it’s the kind of comforting staple that belongs in every fall kitchen—or anytime you’re craving something homemade and heartwarming.

Ingredient Breakdown
Apples are the soul of this filling, and the variety you choose makes all the difference. A combination of tart and sweet—like Granny Smith and Honeycrisp—creates depth and prevents the filling from becoming overly sugary or bland. The texture should be firm enough to hold its shape but soft enough to become tender during cooking.
Granulated sugar enhances the natural sweetness of the apples without overwhelming them. It’s just the right amount to balance tart varieties and pair with warming spices.
Ground cinnamon brings a comforting aromatic note that instantly evokes a sense of warmth and nostalgia. It blends seamlessly into the butter and clings to the apples as they soften, giving the filling its signature spiced flavor.
Butter not only enriches the sauce but also lends a silky texture to the apples as they cook. It melts into the cinnamon and sugar, forming the base for a rich, velvety coating.
Water helps steam the apples early in the cooking process, allowing them to soften gently while preserving their structure. It also ensures the sugar dissolves evenly without scorching.
Cornstarch, mixed into a smooth slurry, thickens the sauce into a glossy, spoonable consistency. It’s the element that binds the liquid together, creating a filling that sits beautifully in pie shells and won’t run when sliced.
Step-by-Step Preparation Guide
Start by peeling and coring your apples, then slicing or chopping them to suit your intended dessert. Thin slices are best for pies and tarts, while chunkier pieces are ideal for rustic crisps or galettes. Uniform size ensures even cooking.
Melt the butter in a saucepan over medium heat and stir in the cinnamon. Let it bloom for a moment—just long enough for the kitchen to fill with its warm aroma. This step unlocks the spice’s full flavor potential before the apples even hit the pan.
Once the butter is fragrant, add the apples, sugar, and a splash of water. Stir well, then cover the pan to trap the steam. As the apples cook, they’ll release their own juices, which will mingle with the butter and sugar to create a syrupy base.
As the apples begin to soften, stir in the cornstarch slurry slowly. Pour it in a thin stream while stirring continuously to prevent clumps. Within minutes, the sauce will thicken and become glossy, clinging to each piece of apple.
Let the mixture bubble gently for about a minute to fully activate the cornstarch. Remove from heat and cool to room temperature. As it sits, the filling will continue to thicken, becoming spoonable and perfect for layering into your favorite dessert.
Recipe Tips
Choosing the right apples: tart vs. sweet and the best combinations
A mix of Granny Smith and Fuji or Gala provides the perfect balance of tartness and sweetness with a firm texture that holds up during cooking.
Avoiding soggy fillings: how to tell when apples are just tender
Cook the apples until they’re just fork-tender—they should yield with a little pressure but still keep their shape. Avoid cooking them to the point of mush.
Getting the consistency right: fixing runny or overly thick filling
If the sauce is too thin after adding the slurry, let it simmer uncovered for a few extra minutes. If it becomes too thick, add a splash of water or apple juice to loosen it.
Prepping ahead: how long to store filling and best ways to cool it quickly
Spread the filling onto a baking sheet to cool quickly, then transfer to an airtight container. Store in the fridge for up to 5 days.
Doubling the batch: tips for scaling without sacrificing texture
Use a wider pan and stir often to ensure even heating. Resist the urge to overfill the pot—cook in batches if necessary to avoid steaming instead of sautéing.
What to Serve With This Recipe
For the classic route, this filling shines tucked inside a flakey pie crust or layered into a puff pastry turnover. It also works beautifully with a golden oat crumble topping or inside a buttery tart shell.
As a sweet topper, serve it warm over vanilla ice cream, Greek yogurt, or pancakes. Drizzle with caramel or sprinkle with toasted pecans for an extra treat.
For more creative takes, layer the filling into a trifle, swirl it into cheesecake batter, or spoon it into crepes with a dollop of whipped cream for brunch-worthy results.
Creative Variations
For deeper flavor, add a pinch of ground nutmeg, cloves, or cardamom alongside the cinnamon. A splash of vanilla extract stirred in at the end adds mellow warmth.
To introduce a crunch, fold in chopped toasted pecans or walnuts just before serving. This adds a rustic touch and a pleasant contrast to the tender fruit.
For a fruity twist, combine apples with sliced pears, dried cranberries, or golden raisins during the cooking process. Each variation brings a new layer of sweetness and texture.
Frequently Asked Questions
Can I use pre-sliced apples or canned apples for this recipe?
Yes, but adjust the cooking time. Pre-sliced or canned apples are often softer and require less simmering—just heat through and thicken the sauce.
How do I keep the apples from browning if prepping ahead of time?
Toss the sliced apples in lemon water or a splash of apple cider vinegar to prevent oxidation until you’re ready to cook.
Can this filling be frozen for later use?
Absolutely. Let the filling cool completely, then freeze in an airtight container for up to 3 months. Thaw in the fridge and reheat gently before using.
What’s the best way to reheat the filling without breaking the sauce?
Warm slowly over low heat, stirring gently. If it thickens too much, add a teaspoon of water at a time until it reaches the desired consistency.
Homemade apple pie filling is more than just a dessert component—it’s a seasonal essential, full of cinnamon-spiced comfort and golden fruit flavor. Whether spooned into a buttery crust or served simply with ice cream, it transforms any treat into a cozy, crowd-pleasing favorite.
Ingredients
4 medium apples
⅓ cup granulated sugar
1 teaspoon ground cinnamon
2 tablespoons butter
3 tablespoons water
4 teaspoons cornstarch
2 tablespoons water (for slurry)
Instructions
Begin by peeling, coring, and slicing or chopping the apples to your preferred size—thin slices work well for pies, while chunks are great for crisps or fillings.
In a medium saucepan over medium heat, melt the butter along with the ground cinnamon until fragrant. Add the prepared apples, granulated sugar, and 3 tablespoons of water to the pan. Stir to combine everything well, then cover and cook, stirring occasionally, for 4 to 6 minutes or until the apples begin to soften slightly but still hold their shape.
In a small bowl, whisk together the cornstarch and 2 tablespoons of water to create a smooth slurry. Slowly pour the mixture into the pan while stirring to prevent any lumps. Continue cooking for a few more minutes, stirring gently, until the apples are tender (but not mushy) and the sauce has thickened to a rich, glossy consistency.
Allow the filling to bubble for about 1 minute to ensure the cornstarch activates fully. Remove from heat and let cool before using in pies, pastries, or as a warm topping.
Apple Pie Filling Recipe
Ingredients
- 4 medium apples
- ⅓ cup granulated sugar
- 1 teaspoon ground cinnamon
- 2 tablespoons butter
- 3 tablespoons water
- 4 teaspoons cornstarch
- 2 tablespoons water for slurry
Instructions
- Begin by peeling, coring, and slicing or chopping the apples to your preferred size—thin slices work well for pies, while chunks are great for crisps or fillings.
- In a medium saucepan over medium heat, melt the butter along with the ground cinnamon until fragrant. Add the prepared apples, granulated sugar, and 3 tablespoons of water to the pan. Stir to combine everything well, then cover and cook, stirring occasionally, for 4 to 6 minutes or until the apples begin to soften slightly but still hold their shape.
- In a small bowl, whisk together the cornstarch and 2 tablespoons of water to create a smooth slurry. Slowly pour the mixture into the pan while stirring to prevent any lumps. Continue cooking for a few more minutes, stirring gently, until the apples are tender (but not mushy) and the sauce has thickened to a rich, glossy consistency.
- Allow the filling to bubble for about 1 minute to ensure the cornstarch activates fully. Remove from heat and let cool before using in pies, pastries, or as a warm topping.
Notes
- Cut apples into 1/2-inch cubes or 1/4-inch slices, depending on your preference.
- Cooking time may vary based on the apple variety—cook just until they’re tender-crisp, checking doneness with a fork.
- If your apples are particularly juicy and you prefer a thicker filling, mix 1 tablespoon of cornstarch with 1 tablespoon of water.
- Add the slurry a little at a time while the mixture is boiling, until the desired consistency is reached.