
Chocolate Pie Recipe
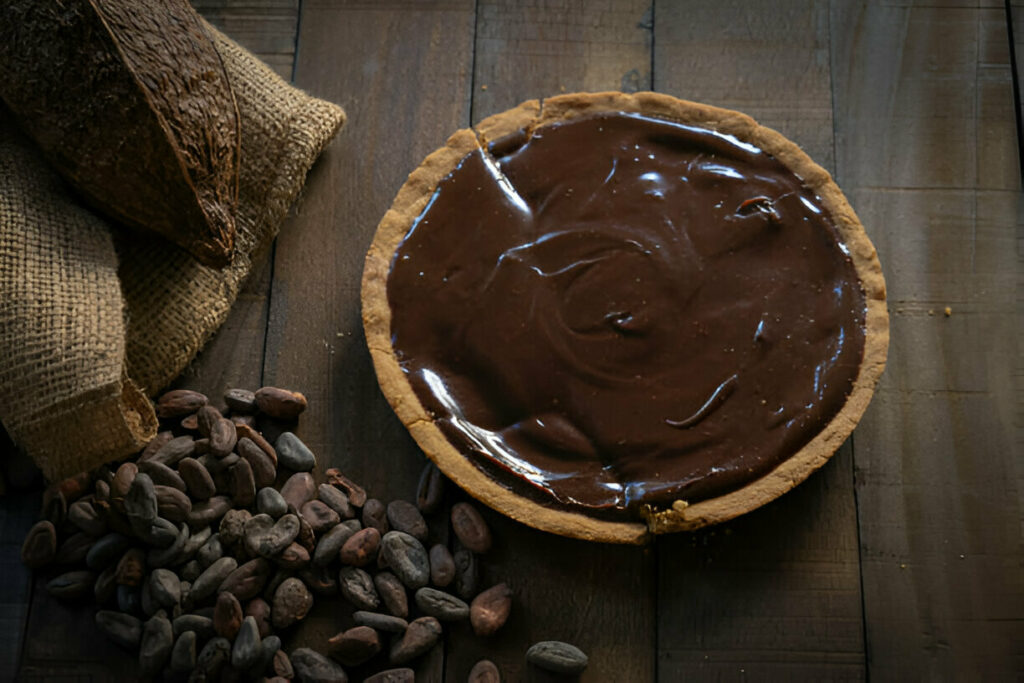
A slice of chocolate pie delivers the kind of comfort that only classic desserts can. With a silky-smooth cocoa filling and a crisp, buttery crust, this pie satisfies every craving for something rich, sweet, and deeply chocolatey. Whether served chilled straight from the fridge or topped with a soft peak of whipped cream, it’s the kind of dessert that disappears quickly and leaves everyone asking for seconds.
Ingredient Breakdown
At the heart of this recipe is the cocoa base—a blend of unsweetened cocoa powder and granulated sugar that provides bold chocolate flavor without overwhelming sweetness. This combination allows the chocolate to shine, creating a rich, almost pudding-like consistency once cooked.
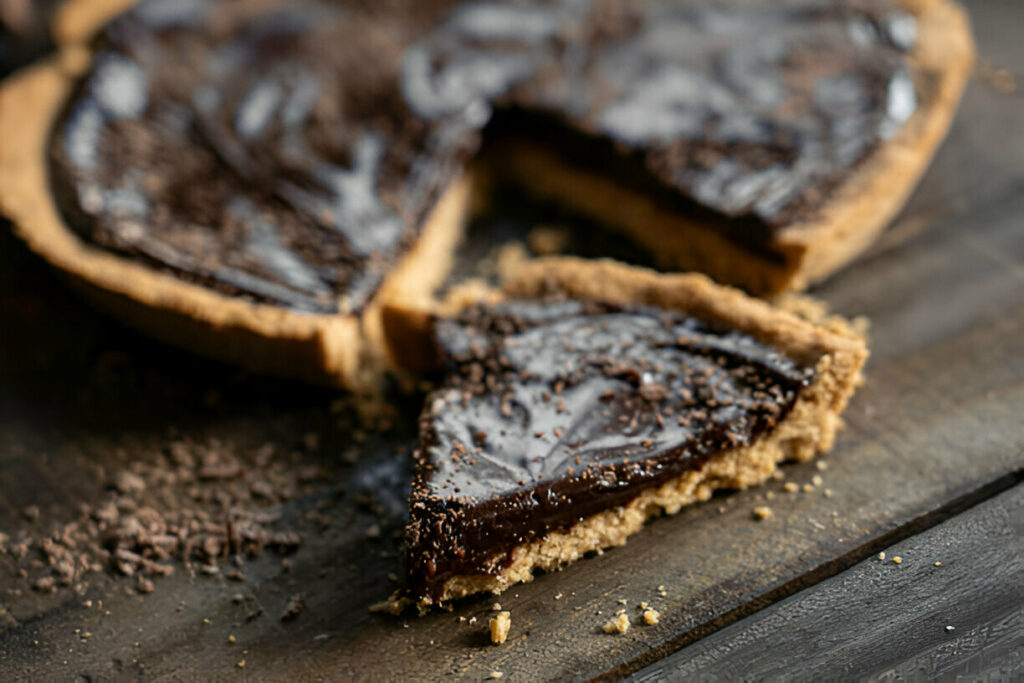
The filling itself relies on whole milk and egg yolks, which give the custard its creamy body and smooth texture. Flour thickens the mixture gently, while cubed unsalted butter adds richness and a glossy sheen. It’s a custard that holds its shape but melts the moment it hits your tongue.
A splash of vanilla extract brightens the chocolate and rounds out the flavor, while salt enhances every note, keeping the sweetness in check and deepening the cocoa flavor.
As for the base, you can choose between a homemade or store-bought pie crust. Either way, it provides structure and contrast to the soft filling—firm, crisp, and golden around the edges.
To finish, whipped cream offers a light, airy contrast to the dense filling. You can also garnish with chocolate shavings, a dusting of cocoa powder, or leave it unadorned and let the flavor speak for itself.
Step-by-Step Preparation Guide
Begin by blind baking the pie crust, a crucial step to ensure the crust stays crisp under the creamy filling. After shaping the dough into a 9-inch pie pan, line it with parchment paper and fill with pie weights or dried beans. Bake at 400°F (200°C) for 20 minutes, remove the weights, then continue baking for another 10 to 15 minutes until the crust turns golden and dry. Let it cool completely.
While the crust cools, combine the cocoa powder and sugar in a medium saucepan, then slowly whisk in 1½ cups of the milk. Stir until the mixture is smooth and lump-free. Set it over medium-high heat and bring to a gentle simmer, stirring often to prevent scorching.
In a separate bowl, whisk the remaining ½ cup of milk with egg yolks, flour, and salt until fully combined. This mixture forms the base that will give structure to the filling.
Once the cocoa milk mixture reaches a simmer, it’s time to temper the eggs. Slowly pour the hot cocoa mixture into the egg yolk mixture, whisking constantly to prevent curdling. Once combined, pour the mixture back into the saucepan and return it to medium-low heat.
Stir continuously until the mixture thickens into a pudding-like consistency. This step takes about 5 minutes and requires attention—once it starts bubbling, you’ll know it’s ready. Remove it from the heat and stir in the butter and vanilla until the filling is glossy and smooth.
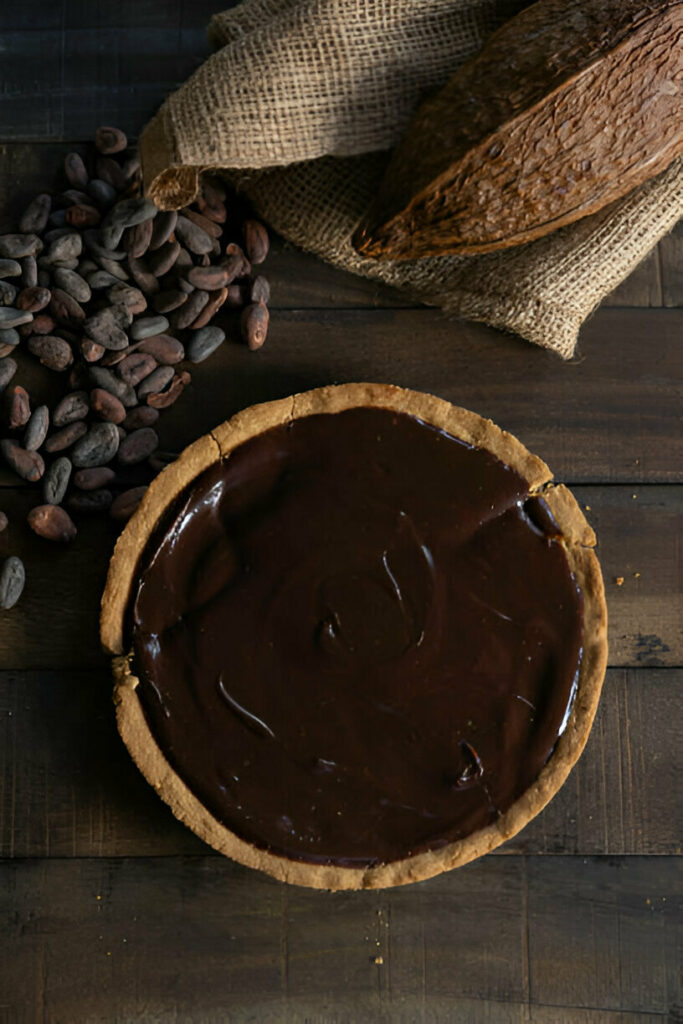
For a flawless finish, strain the hot custard through a fine mesh sieve directly into the cooled crust. This extra step removes any curdled bits and ensures every bite is creamy and uniform. Smooth the top with a spatula and refrigerate uncovered for at least 4 hours or overnight until set.
Before serving, top with whipped cream or any garnish you prefer. Store leftovers covered in the fridge for up to a week.
Recipe Tips
Use a metal or glass pie pan for more even heat distribution:
These materials conduct heat more efficiently, ensuring a uniformly baked crust.
Whisk constantly while cooking the filling to prevent lumps:
Continuous motion keeps the mixture smooth and prevents clumping.
Strain the filling before chilling for an ultra-smooth texture:
This step removes any curdled egg or flour bits.
Let the pie chill uncovered to prevent condensation on the surface:
This preserves the smooth, glossy finish.
Don’t skip blind baking—it’s key to avoiding a soggy bottom crust:
A crisp shell is essential to support the creamy filling.
What to Serve With This Recipe
Pair each slice with a soft cloud of whipped cream or a fine dusting of cocoa powder for visual contrast. For something more vibrant, add a few fresh raspberries or strawberries—fruity acidity helps cut the richness.
Drinks like cold milk, espresso, or even a small glass of ruby port are excellent companions. They either complement the chocolate or refresh the palate between bites.
Frequently Asked Questions
Can I use Dutch-processed cocoa powder instead of natural cocoa?
Yes, but it may slightly alter the flavor profile and color. Natural cocoa gives a more acidic, intense chocolate flavor.
How do I know when the filling is thick enough?
It should coat the back of a spoon and bubble slightly around the edges. If it holds its shape when spooned, it’s ready.
Can I make the pie crust and filling ahead of time?
Absolutely. The crust can be baked a day ahead, and the filling can be prepared and chilled overnight.
How long will the pie last in the fridge?
Properly stored, it will keep for up to 7 days.
What can I use if I don’t have a fine mesh sieve?
A standard strainer or even cheesecloth can work in a pinch, though a fine mesh sieve gives the best results.
Creative Variations
Add a pinch of cinnamon or cayenne pepper to the cocoa for a subtle, spiced twist. Swirl in a tablespoon of peanut butter, dulce de leche, or hazelnut spread after the filling is poured into the crust for added depth.
For flair, garnish with dark chocolate curls, a sprinkle of sea salt, or a light drizzle of caramel sauce. You can even top it with crushed toffee bits for texture.
This chocolate pie delivers everything you want in a homemade dessert—smooth, rich, and impossibly satisfying. With its crisp crust and dreamy filling, it’s a make-ahead masterpiece that suits everything from casual family dinners to celebratory feasts. Simple in ingredients but spectacular in flavor, it’s a timeless favorite for chocolate lovers everywhere.
Ingredients
Granulated Sugar – 1½ cups (300g)
Unsweetened Cocoa Powder – ½ cup (50g)
Milk – 2 cups (480ml), divided
Egg Yolks – 4 large
All-Purpose Flour – 3 tablespoons
Salt – ½ teaspoon
Unsalted Butter, cubed – ¼ cup (57g)
Vanilla Extract – 1 teaspoon
Pie Crust – 1 (homemade or store-bought), fitted into a 9-inch pie pan
Whipped Cream – for serving (optional)
Instructions
Preheat the oven to 400°F (200°C). Fit your pie crust into a 9-inch pie pan and shape or crimp the edges as desired. Carefully line the crust with parchment paper and fill with pie weights or dried beans to prevent puffing. Blind-bake for 20 minutes, then remove the weights and parchment. Continue baking for an additional 10 to 15 minutes, or until the crust is dry, crisp, and golden. Set aside to cool completely before filling.
In a medium saucepan, whisk together the sugar and cocoa powder until fully combined. Gradually whisk in 1½ cups of the milk, ensuring no dry lumps remain. Place the saucepan over medium-high heat and bring the mixture to a gentle simmer, stirring regularly to avoid scorching.
While the cocoa mixture heats, prepare the egg base in a separate heatproof mixing bowl. Whisk together the remaining ½ cup of milk, egg yolks, flour, and salt until smooth and well combined.
Once the chocolate milk mixture begins to simmer, slowly pour it into the egg mixture, whisking constantly to temper the yolks without scrambling them. Once fully incorporated, return the combined mixture to the saucepan.
Cook over medium-low heat, stirring continuously with a spatula or wooden spoon, until the mixture thickens and starts to bubble—this should take about 5 minutes. Remove the pan from the heat and immediately stir in the cubed butter and vanilla extract. Mix until the butter is fully melted and the filling is glossy and smooth.
For an ultra-smooth finish, strain the filling through a fine mesh sieve directly into the cooled pie shell. Spread evenly and smooth the surface with a spatula.
Refrigerate the pie uncovered for at least 4 hours, or preferably overnight, to allow the filling to fully set. Before serving, top each slice with a generous spoonful of whipped cream if desired. Store any leftovers covered in the refrigerator for up to one week.

Chocolate Pie Recipe
Ingredients
- Granulated Sugar – 1½ cups 300g
- Unsweetened Cocoa Powder – ½ cup 50g
- Milk – 2 cups 480ml, divided
- Egg Yolks – 4 large
- All-Purpose Flour – 3 tablespoons
- Salt – ½ teaspoon
- Unsalted Butter cubed – ¼ cup (57g)
- Vanilla Extract – 1 teaspoon
- Pie Crust – 1 homemade or store-bought, fitted into a 9-inch pie pan
- Whipped Cream – for serving optional
Instructions
- Preheat the oven to 400°F (200°C). Fit your pie crust into a 9-inch pie pan and shape or crimp the edges as desired. Carefully line the crust with parchment paper and fill with pie weights or dried beans to prevent puffing. Blind-bake for 20 minutes, then remove the weights and parchment. Continue baking for an additional 10 to 15 minutes, or until the crust is dry, crisp, and golden. Set aside to cool completely before filling.
- In a medium saucepan, whisk together the sugar and cocoa powder until fully combined. Gradually whisk in 1½ cups of the milk, ensuring no dry lumps remain. Place the saucepan over medium-high heat and bring the mixture to a gentle simmer, stirring regularly to avoid scorching.
- While the cocoa mixture heats, prepare the egg base in a separate heatproof mixing bowl. Whisk together the remaining ½ cup of milk, egg yolks, flour, and salt until smooth and well combined.
- Once the chocolate milk mixture begins to simmer, slowly pour it into the egg mixture, whisking constantly to temper the yolks without scrambling them. Once fully incorporated, return the combined mixture to the saucepan.
- Cook over medium-low heat, stirring continuously with a spatula or wooden spoon, until the mixture thickens and starts to bubble—this should take about 5 minutes. Remove the pan from the heat and immediately stir in the cubed butter and vanilla extract. Mix until the butter is fully melted and the filling is glossy and smooth.
- For an ultra-smooth finish, strain the filling through a fine mesh sieve directly into the cooled pie shell. Spread evenly and smooth the surface with a spatula.
- Refrigerate the pie uncovered for at least 4 hours, or preferably overnight, to allow the filling to fully set. Before serving, top each slice with a generous spoonful of whipped cream if desired. Store any leftovers covered in the refrigerator for up to one week.