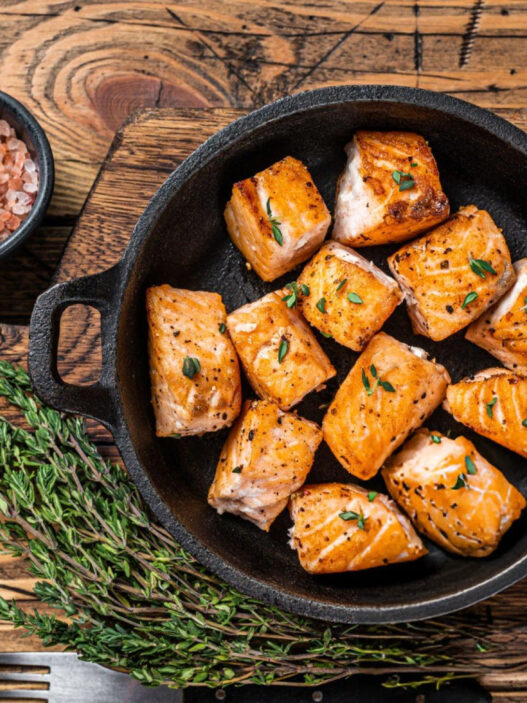


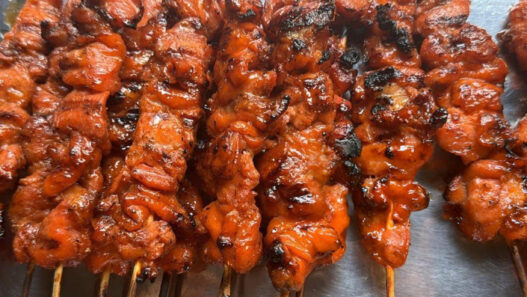


Crispy, golden, and packed with bold umami flavor, this fried Japanese chicken is everything you want in a comfort dish. Its irresistible crunch and deeply savory aroma make it the kind of recipe that draws people to the table before it’s even plated.
Ingredients Breakdown
Chicken thigh fillets are the ideal cut for this dish. Unlike leaner cuts, thighs retain their moisture under high heat and provide a rich, full-bodied flavor. The slight marbling of fat ensures that the meat remains tender through both stages of frying, making it the go-to choice for maximum juiciness.
The marinade is where the magic begins. A combination of soy sauce, cooking sake, mirin, and freshly grated ginger brings layers of complexity. The soy sauce lends saltiness and umami depth, the sake subtly tenderizes the meat, the mirin adds a gentle sweetness, and the ginger provides a sharp, aromatic lift that cuts through the richness of the fry.
Coating the marinated chicken in corn flour (or cornstarch) gives the final result a light, ultra-crispy shell. Unlike wheat flour, corn flour creates a delicate crust that doesn’t absorb too much oil and retains its crisp texture long after frying.
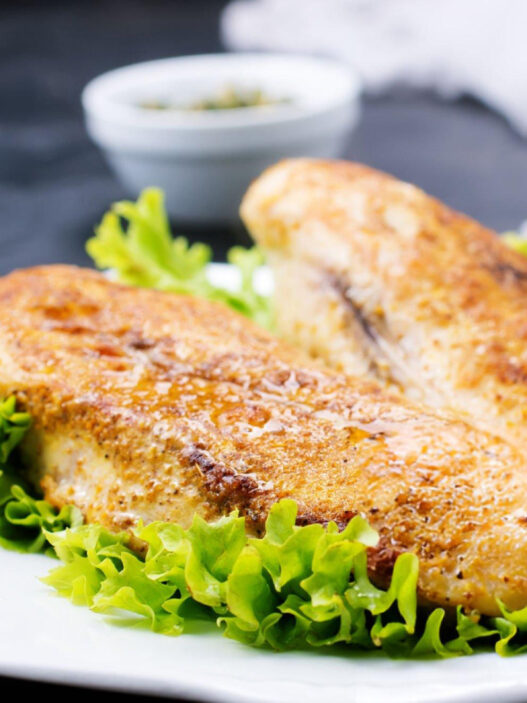
To finish, shredded cabbage or lettuce adds refreshing crunch, and parsley provides a pop of color. These garnishes may be optional, but they complete the plate both visually and texturally.
Step-by-Step Preparation Guide
Start by patting the chicken pieces dry—this simple step helps the marinade cling better and ensures even frying. Once dry, the chicken is immersed in the marinade. Massaging the ingredients into the meat helps the flavors penetrate deeply. Allow the chicken to rest for at least 30 minutes, though an hour will bring more depth of flavor.
While the chicken marinates, heat your frying oil to a stable 160°C (320°F). Use a deep pan or pot with enough oil to submerge the chicken pieces partially. This temperature ensures that the chicken cooks gently on the inside without burning the coating too quickly.
The first fry is all about forming a base crust and locking in the moisture. Gently add the corn flour-coated chicken to the oil in small batches. Fry each batch for about 2½ to 3 minutes, allowing the coating to set and the chicken to partially cook through. Remove and rest the pieces on paper towels for a few minutes. This pause is essential—it lets the interior finish cooking with residual heat and prevents the coating from becoming greasy.
Before the second fry, increase the oil temperature to 190–200°C (374–392°F). This final fry is quick—just 30 seconds to 1 minute per piece—but it’s what gives the chicken its golden-brown, extra-crispy finish. The contrast in temperature shocks the coating into crispness without overcooking the meat inside.
Serve the chicken immediately while it’s still piping hot and audibly crunchy. A bed of finely shredded cabbage or lettuce and a few sprigs of parsley add a cooling element and brighten the presentation.
Recipe Tips
How to ensure the chicken stays juicy inside:
Use thigh meat and don’t skip the resting time after the first fry. The juices redistribute, keeping the inside tender.
The best oil types and pan depth for deep frying:
Neutral oils with high smoke points like canola, peanut, or sunflower work best. Aim for 3–4 cm of oil depth to allow even frying without full submersion.
How to avoid soggy coating after frying:
Let the chicken rest on a wire rack or paper towel to drain oil. Avoid stacking pieces, which traps steam and softens the crust.
When to season and how to balance the marinade:
Season after marination only if needed. Taste the marinade balance before adding more salt or soy sauce, as over-seasoning can mask the delicate ginger notes.
What to Serve With This Recipe
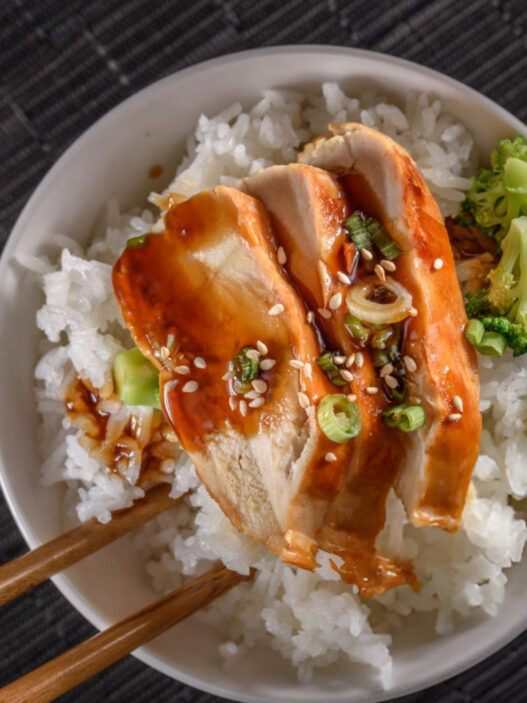
Classic pairings bring out the best in fried Japanese chicken. A bowl of steamed white rice, a side of miso soup, or a few bites of pickled cucumber or radish add balance to the richness of the chicken.
Lighter accompaniments like shredded cabbage with sesame dressing or a crisp daikon salad with citrus vinaigrette help cleanse the palate between bites.
Dipping sauces can take things to the next level. Serve with ponzu for brightness, spicy mayo for a creamy contrast, or yuzu kosho for a zesty, peppery kick.
To complete the meal, offer drinks that complement the flavor. A cold beer cuts through the richness, iced green tea brings a refreshing balance, and chilled sake enhances the umami notes in every bite.
Frequently Asked Questions
Can I use chicken breast instead of thighs?
Yes, but thighs are preferred for their juiciness. Breasts can dry out faster, so reduce frying time slightly to avoid overcooking.
Is it okay to skip the second fry?
While optional, the second fry adds crucial crispiness. Skipping it will result in a softer coating.
How do I know the oil temperature is right without a thermometer?
Drop a small piece of bread or batter into the oil—if it sizzles gently and browns slowly, you’re in the right range. If it browns too quickly, the oil is too hot.
Can this recipe be adapted for an air fryer?
Yes, but the texture will differ. Coat the chicken lightly with oil spray and air fry at 200°C (392°F) for 12–15 minutes, flipping halfway.
Creative Variations
Add heat with a sprinkle of chili flakes or Japanese shichimi togarashi in the marinade. This gives each bite a gentle kick and a burst of warming spice.
For a garlicky twist, add freshly minced garlic or a touch of garlic powder to the marinade. It enhances the savory profile and pairs beautifully with soy and ginger.
If you’re in the mood for something sweet and sticky, finish the chicken with a drizzle of teriyaki or honey-soy glaze right before serving. It adds gloss and a finger-licking finish.
For an even crispier bite, mix the corn flour with a bit of potato starch. This combination creates an extra crackly texture that holds up longer—even after cooling.
Fried Japanese chicken is the kind of dish that turns a handful of simple ingredients into something special. Crisp, juicy, and full of savory goodness, it’s a timeless recipe perfect for quick dinners, festive platters, or satisfying cravings any day of the week. This double-fried method brings the crunch, the marinade delivers the flavor, and together, they make a dish that always hits the spot.
Ingredients
350g / 12.3 oz chicken thigh fillets, cut into large bite-sized pieces (Note 1)
20g / 0.7 oz corn flour (cornstarch)
Vegetable oil, for deep frying
Marinade
1 tablespoon soy sauce
1 tablespoon cooking sake
½ teaspoon mirin (Note 2)
2 teaspoons freshly grated ginger, including its juice
Garnish (optional)
Shredded lettuce or cabbage
Fresh parsley sprigs
Instructions
Begin by gently patting the chicken pieces dry using paper towels to remove excess moisture. Place the chicken into a ziplock bag or bowl along with the soy sauce, sake, mirin, and freshly grated ginger. Make sure the marinade thoroughly coats the chicken—massage it well if using a bag. Let the chicken sit in the marinade for 30 minutes to 1 hour to soak in the flavors.
As the chicken marinates, prepare a deep pot or heavy-based frying pan and pour in enough vegetable oil to reach a depth of 3–4 cm (about 1¼–1½ inches). Heat the oil to a stable 160°C / 320°F (Note 3).
When ready to cook, remove the chicken from the marinade and place the pieces on paper towels to drain any excess liquid. Transfer the chicken to a clean bowl and evenly sprinkle the corn flour over the surface. Toss or turn each piece so they are uniformly coated.
Fry the chicken in small batches to avoid overcrowding. Carefully lower each piece into the hot oil, one at a time. Cook for 2½ to 3 minutes, adjusting placement if necessary to prevent the chicken from sticking to the bottom of the pot or pan.
Once lightly cooked, remove the chicken from the oil and let it rest on paper towels for at least 3 to 4 minutes. This step allows the juices to settle and helps prevent the final coating from becoming too greasy. Repeat the process for the remaining batches.
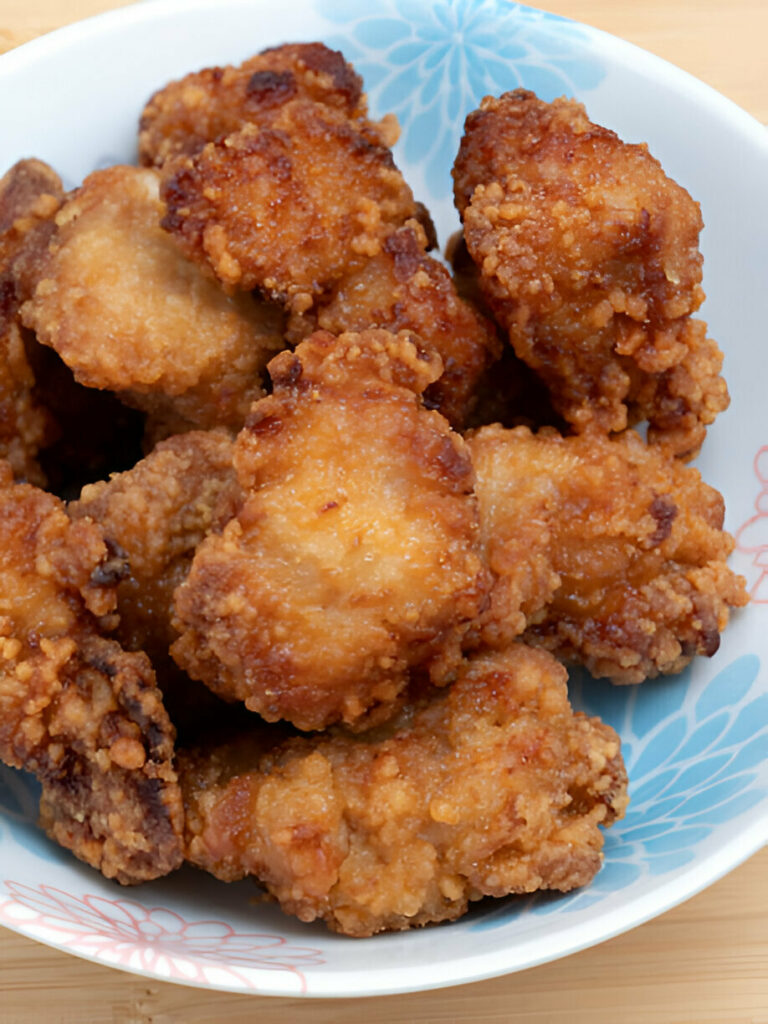
After all the chicken has been pre-fried, skim off any flour debris floating in the oil. Increase the oil temperature to 190–200°C / 374–392°F (Note 3) for the second fry. Return the chicken pieces in batches to the hot oil and fry for an additional 30 seconds to 1 minute, or until the exterior becomes crisp and golden.
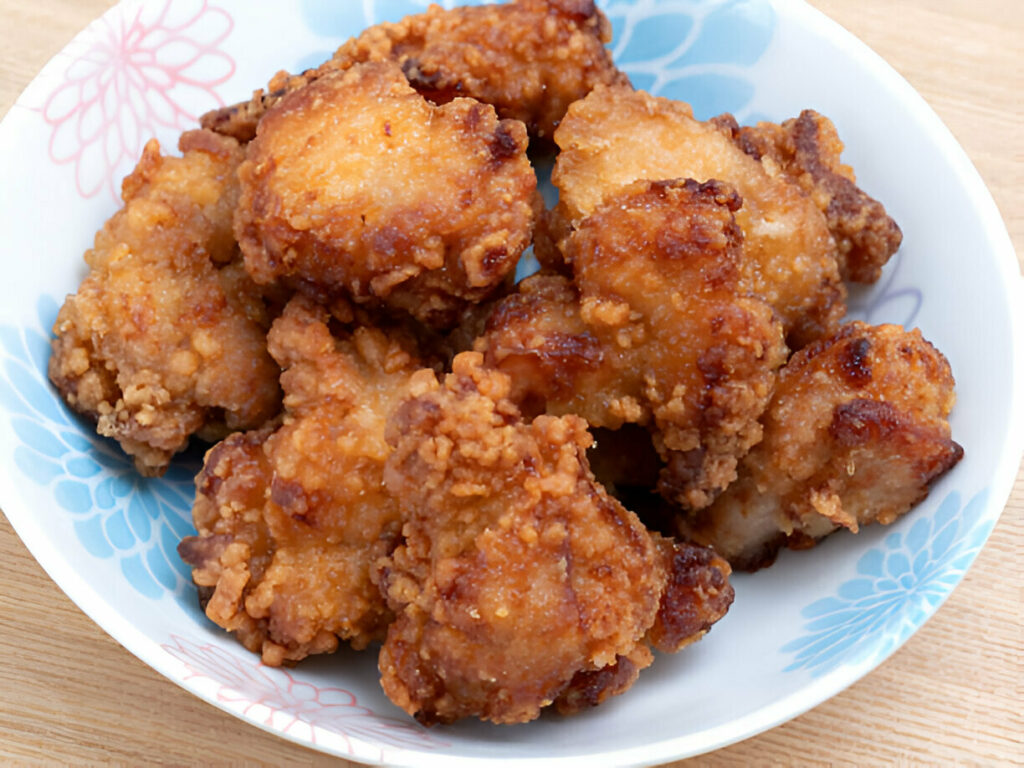
Serve the hot, crispy chicken immediately with shredded cabbage or lettuce, and a few sprigs of fresh parsley for garnish if desired.

Fried Japanese Chicken Recipe
Ingredients
- 350 g / 12.3 oz chicken thigh fillets cut into large bite-sized pieces (Note 1)
- 20 g / 0.7 oz corn flour cornstarch
- Vegetable oil for deep frying
Marinade
- 1 tablespoon soy sauce
- 1 tablespoon cooking sake
- ½ teaspoon mirin Note 2
- 2 teaspoons freshly grated ginger including its juice
Garnish (optional)
- Shredded lettuce or cabbage
- Fresh parsley sprigs
Instructions
- Begin by gently patting the chicken pieces dry using paper towels to remove excess moisture. Place the chicken into a ziplock bag or bowl along with the soy sauce, sake, mirin, and freshly grated ginger. Make sure the marinade thoroughly coats the chicken—massage it well if using a bag. Let the chicken sit in the marinade for 30 minutes to 1 hour to soak in the flavors.
- As the chicken marinates, prepare a deep pot or heavy-based frying pan and pour in enough vegetable oil to reach a depth of 3–4 cm (about 1¼–1½ inches). Heat the oil to a stable 160°C / 320°F (Note 3).
- When ready to cook, remove the chicken from the marinade and place the pieces on paper towels to drain any excess liquid. Transfer the chicken to a clean bowl and evenly sprinkle the corn flour over the surface. Toss or turn each piece so they are uniformly coated.
- Fry the chicken in small batches to avoid overcrowding. Carefully lower each piece into the hot oil, one at a time. Cook for 2½ to 3 minutes, adjusting placement if necessary to prevent the chicken from sticking to the bottom of the pot or pan.
- Once lightly cooked, remove the chicken from the oil and let it rest on paper towels for at least 3 to 4 minutes. This step allows the juices to settle and helps prevent the final coating from becoming too greasy. Repeat the process for the remaining batches.
- After all the chicken has been pre-fried, skim off any flour debris floating in the oil. Increase the oil temperature to 190–200°C / 374–392°F (Note 3) for the second fry. Return the chicken pieces in batches to the hot oil and fry for an additional 30 seconds to 1 minute, or until the exterior becomes crisp and golden.
- Serve the hot, crispy chicken immediately with shredded cabbage or lettuce, and a few sprigs of fresh parsley for garnish if desired.