


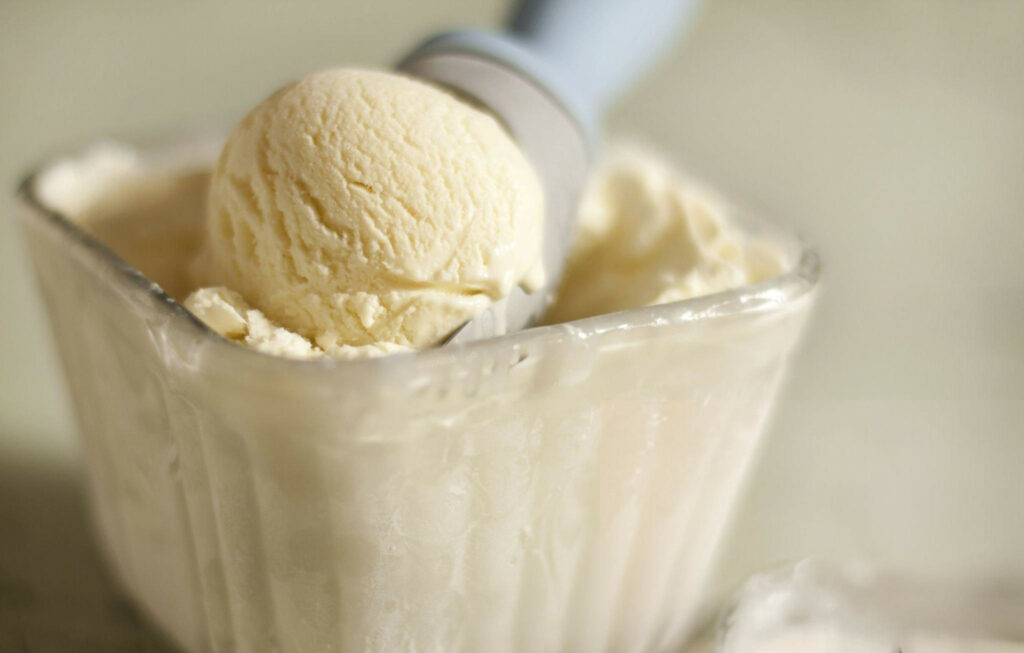
There’s something undeniably satisfying about making your own vanilla ice cream from scratch—especially when it’s creamy, smooth, and full of rich vanilla flavor. With the help of the Ninja Creami, this luxurious dessert comes together effortlessly, delivering scoop-shop quality in your own kitchen.

Ingredient Breakdown
This recipe keeps things simple yet effective with just five powerhouse ingredients, each playing a crucial role in the final texture and taste.
Heavy cream is the backbone of richness here. It delivers that luxurious mouthfeel that makes each bite velvety and decadent without needing additional stabilizers or fillers.
Whole milk lightens the mixture slightly, creating a balanced fat profile that churns easily and sets beautifully. It helps prevent the ice cream from becoming overly dense while still maintaining creaminess.
Granulated sugar does more than sweeten. It also softens the texture and helps the mixture freeze smoothly, avoiding the formation of unpleasant ice crystals.
Cream cheese may seem like an unusual addition, but it adds depth and body, giving the ice cream a subtle tang and a custard-like consistency. It’s the hidden hero that makes each scoop stand up tall and smooth.
Vanilla bean paste infuses the mixture with robust, aromatic flavor. It’s more intense than vanilla extract and adds charming flecks of real vanilla throughout the base, making each spoonful feel artisanal.
Step-by-Step Preparation Guide
Begin by softening the cream cheese. Just 10 seconds in the microwave transforms it from firm to spreadable, making it easy to whisk into the base without leaving lumps.
Next, incorporate the sugar. Stirring it directly into the cream cheese ensures it dissolves evenly and creates a cohesive texture. From there, slowly whisk in the milk and cream. This gradual approach prevents splashing and helps emulsify the fat and sugar uniformly for a silky consistency.
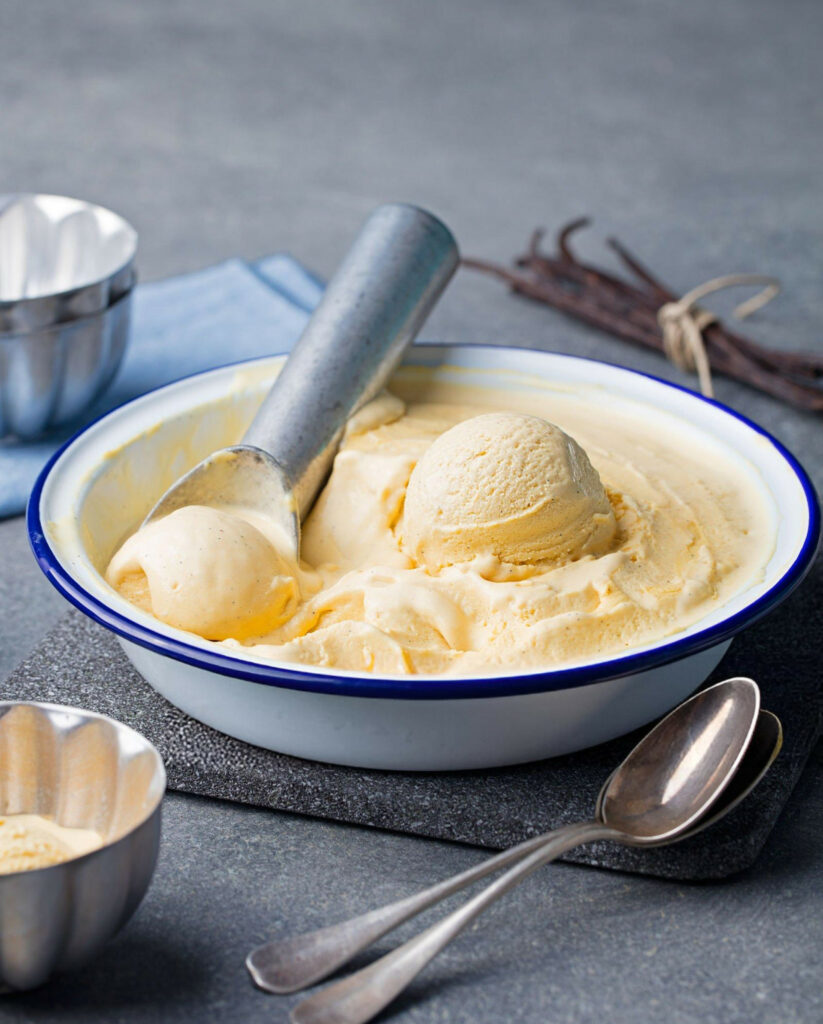
Once the dairy is fully incorporated, stir in the vanilla bean paste. The aromatic swirl will instantly perfume the base with warmth and character, and those little black specks will give your final product a signature visual appeal.
Transfer the mixture into your Ninja Creami pint container. Seal the lid tightly and freeze it on a completely flat surface for 24 hours. This step is critical—an even freeze ensures consistent churning the next day.
When you’re ready to spin, remove the container from the freezer, take off the lid, and place it into your Ninja Creami according to the manufacturer’s guide. Select the Ice Cream function and let the machine do its magic.
Once the cycle ends, check the consistency. If it appears crumbly or dry, don’t worry. Use the Re-Spin function to bring it to that perfect creamy texture. Then, scoop it straight from the pint and serve immediately for the best experience.
Recipe Tips & Frequently Asked Questions
Use room temperature ingredients for better blending:
Softening the cream cheese is just the start. Letting your milk and cream sit at room temp for 10–15 minutes helps them mix more smoothly.
Chill your mixture before freezing to avoid separation:
A quick chill in the fridge before transferring to the pint container can ensure a more stable base, especially if you whisked vigorously.
For an extra smooth result, blend the base in a high-speed blender before freezing:
This emulsifies the ingredients fully and minimizes any gritty texture from undissolved sugar.
Don’t skip the re-spin—it transforms the texture to true creaminess:
One round might not be enough, especially if your freezer is extra cold. Re-spinning brings everything together beautifully.
Can I use vanilla extract instead of paste?
Yes, but it may be less intense in flavor and you’ll lose the visual appeal of the vanilla specks.
What happens if I skip the cream cheese?
The ice cream will still churn, but you’ll miss out on the added body and richness that cream cheese brings.
Is it okay to refreeze leftovers?
Absolutely. The texture may firm up, but a quick re-spin when ready to serve brings it back to life.
How long will the ice cream last once churned?
For optimal texture and flavor, enjoy within 5–7 days. Store tightly sealed in the original pint container.
What to Serve With This Recipe
This vanilla base shines alongside timeless pairings. A warm brownie, a chewy chocolate chip cookie, or a drizzle of berry compote brings layers of flavor and texture to each bite.
If you’re after crunch, sprinkle on some crushed pistachios, toasted coconut, or rainbow sprinkles. For kids and adults alike, a broken waffle cone adds an irresistible texture.
Planning a dinner party? Elevate the experience with a ribbon of salted caramel, roasted figs, or a shot of hot espresso for a quick affogato. The vanilla’s gentle sweetness makes it the perfect backdrop for more complex flavors.
Creative Variations
Don’t stop at vanilla. This recipe is the perfect launchpad for experimenting. Swap out the vanilla bean paste for almond extract, peppermint, or citrus zest for a fresh twist.
Once spun, fold in chocolate chunks, crushed Oreos, swirls of strawberry jam, or ribbons of peanut butter. These add-ins give the ice cream unique character and texture without altering the base.
Looking for a plant-based option? Use full-fat coconut cream and unsweetened almond milk in place of dairy. A touch of cornstarch can help thicken the base, and vegan cream cheese makes a great substitute without sacrificing texture.
With only five ingredients and minimal hands-on effort, this Ninja Creami vanilla ice cream delivers a rich, velvety dessert that feels anything but ordinary. It’s versatile, freezer-friendly, and endlessly adaptable. Whether scooped over a brownie or savored straight from the pint, this homemade treat deserves a permanent spot in your dessert lineup.
Ingredients
¾ cup (180ml) heavy cream
1 cup (240ml) whole milk
⅓ cup (67g) granulated sugar
1 Tablespoon cream cheese
1 teaspoon vanilla bean paste
Instructions
Place the cream cheese in a large mixing bowl and microwave it for about 10 seconds to soften. This will make it easier to blend smoothly into the mixture.
Add the sugar to the softened cream cheese and stir until the mixture is cohesive and creamy. Gradually pour in the whole milk and heavy cream, whisking continuously to ensure everything is well incorporated and silky in texture.
Stir in the vanilla bean paste until fully combined, distributing the aromatic flavor evenly throughout the base.
Pour the prepared mixture into your Ninja Creami pint container, secure the lid tightly, and place the pint on a flat, stable surface in the freezer. Allow it to freeze undisturbed for a full 24 hours.
When ready to churn, remove the pint from the freezer and take off the lid. Assemble your Ninja Creami machine as outlined in the quick start guide, ensuring everything is locked into place. Select the “Ice Cream” function and allow the machine to complete its cycle.
After processing, check the texture. If needed, use the “Re-Spin” function for a creamier consistency. Once it reaches your desired texture, scoop directly from the pint and serve immediately for the freshest results.
Ninja Creami Vanilla Ice Cream Recipe
Ingredients
- ¾ cup 180ml heavy cream
- 1 cup 240ml whole milk
- ⅓ cup 67g granulated sugar
- 1 Tablespoon cream cheese
- 1 teaspoon vanilla bean paste
Instructions
- Place the cream cheese in a large mixing bowl and microwave it for about 10 seconds to soften. This will make it easier to blend smoothly into the mixture.
- Add the sugar to the softened cream cheese and stir until the mixture is cohesive and creamy. Gradually pour in the whole milk and heavy cream, whisking continuously to ensure everything is well incorporated and silky in texture.
- Stir in the vanilla bean paste until fully combined, distributing the aromatic flavor evenly throughout the base.
- Pour the prepared mixture into your Ninja Creami pint container, secure the lid tightly, and place the pint on a flat, stable surface in the freezer. Allow it to freeze undisturbed for a full 24 hours.
- When ready to churn, remove the pint from the freezer and take off the lid. Assemble your Ninja Creami machine as outlined in the quick start guide, ensuring everything is locked into place. Select the “Ice Cream” function and allow the machine to complete its cycle.
- After processing, check the texture. If needed, use the “Re-Spin” function for a creamier consistency. Once it reaches your desired texture, scoop directly from the pint and serve immediately for the freshest results.